

If we could teach every new off-roader one thing, it would be this: air down your tires before you hit the trail. It costs nothing, takes a few minutes, and transforms how your rig handles dirt, rock, sand, and snow. It is the single biggest performance gain you can make without spending a dollar, and most people drive right past the trailhead at street pressure and never know what they are missing.
Here is everything you need to know to do it right, and do it safely.
Why airing down works
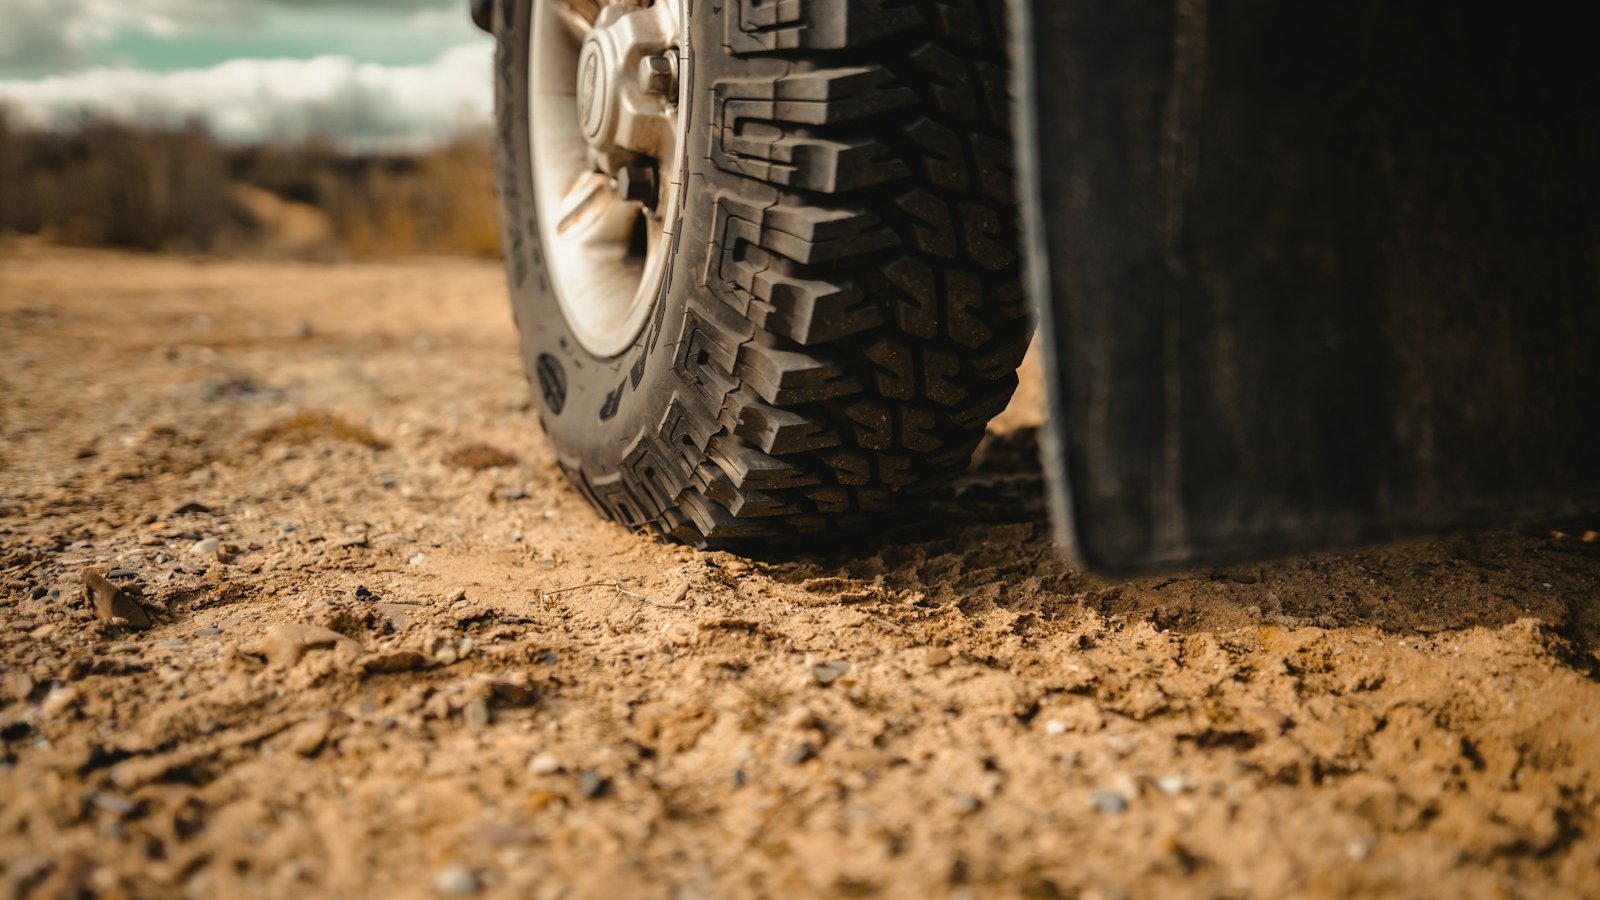 Photo: Cedrik Wesche / Unsplash
A tire at street pressure is rigid and round. It rides on a small contact patch, the area of rubber actually touching the ground, and it bounces off every rock and rut instead of gripping them. When you drop the pressure, the tire flattens and lengthens, wrapping around obstacles and spreading your rig’s weight across a much larger footprint.
That bigger footprint does three things:
- More traction. More rubber on the ground means more grip. On loose surfaces like sand and mud, a longer, wider contact patch keeps you floating on top instead of digging in and sinking.
- A smoother ride. A softer tire absorbs impacts that would otherwise jolt through the chassis. The trail gets noticeably calmer, and so does the wear and tear on your rig.
- Less damage, to you and the trail. A tire that conforms to the ground does not spin and tear at the surface the way a hard tire does. It is easier on the terrain and easier on your sheet metal and driveline.
The change is dramatic. The same obstacle that stops a truck at 35 PSI is often a non-event at 18 PSI.
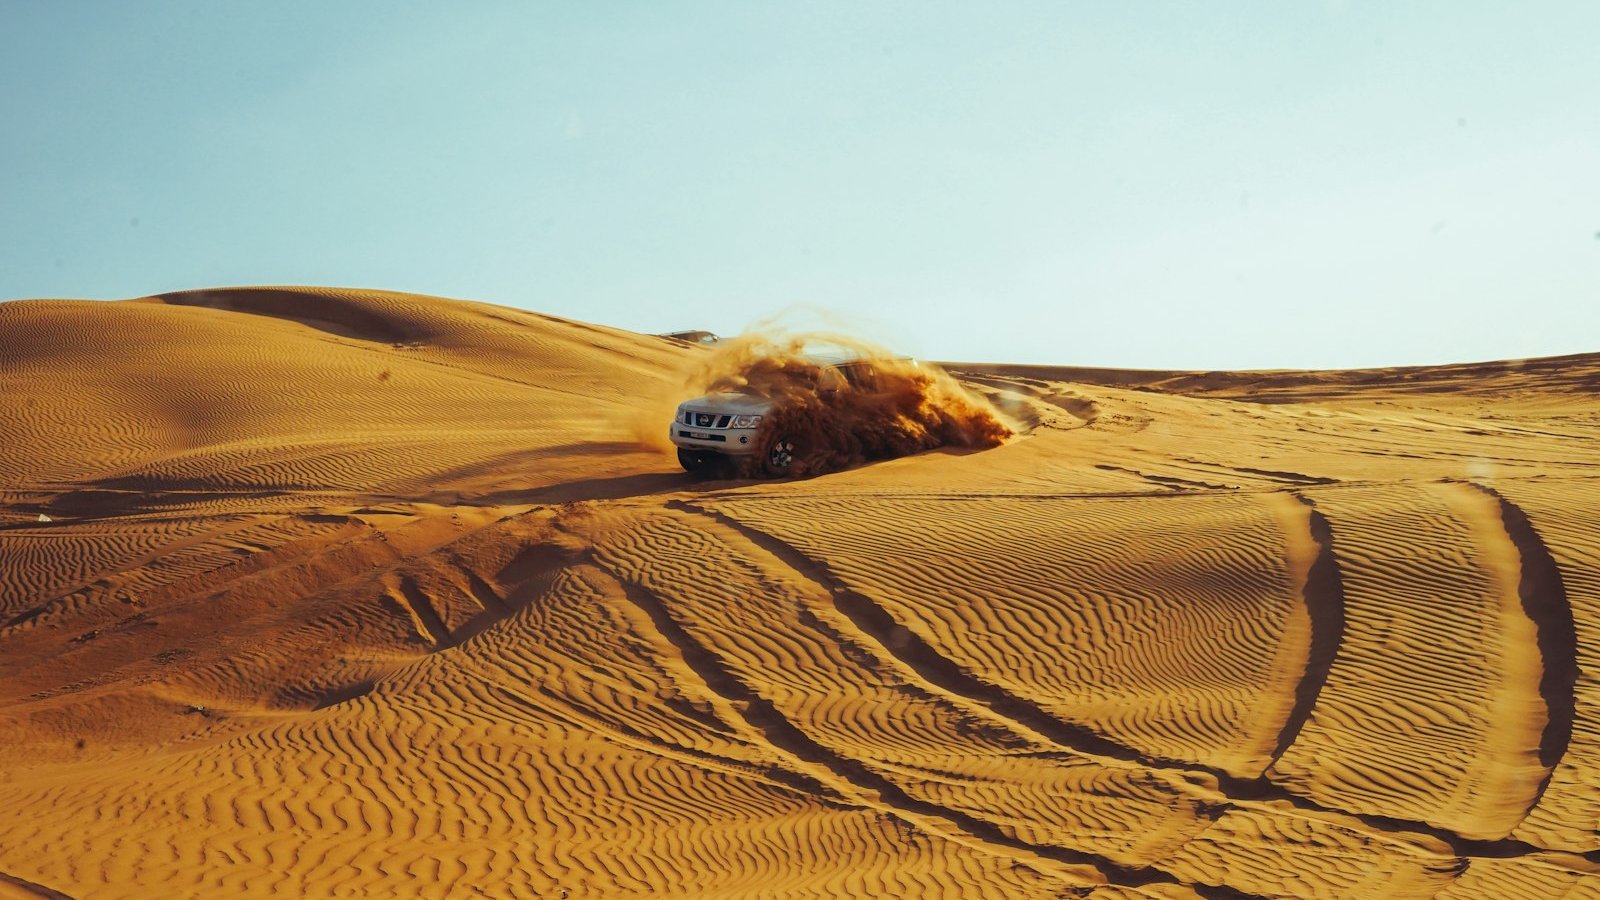 Photo: Abdul Haseeb M M / Unsplash
Rough pressure targets by terrain
These are starting points, not gospel. Your rig weight, tire size, wheel diameter, and the exact conditions all shift the math, and heavier rigs generally want to stay on the higher end of each range. Use these as a baseline and adjust from there.
- Hard-packed dirt and gravel roads: 18 to 25 PSI
- Rocks and technical trails: 15 to 20 PSI
- Soft sand: 12 to 15 PSI
- Deep snow or mud: 15 to 20 PSI
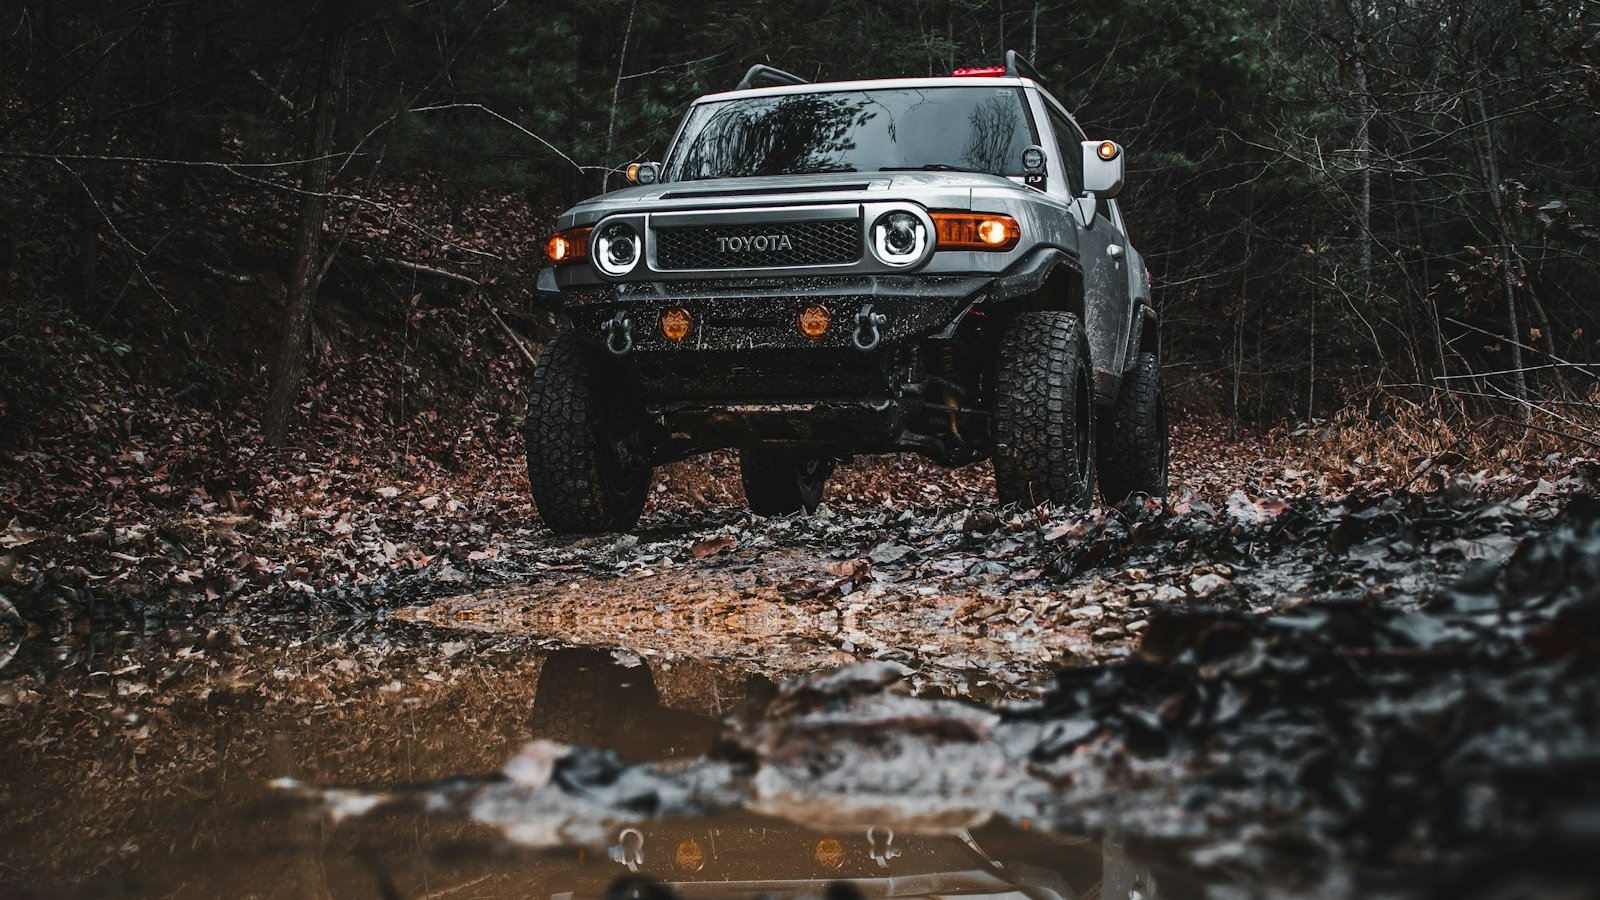 Photo: Brice Cooper / Unsplash
A few notes on the extremes. Sand is where airing down matters most, because flotation is everything in loose, dry sand, and going too high will bury you. Some experienced sand drivers run lower than 12 PSI, but that is firmly in beadlock territory (more on that below). Snow and ice are the opposite trap: you want a bigger footprint for flotation in deep snow, but on packed snow and ice you still need enough pressure to keep the tread biting and your steering precise. Do not over-air-down on slick, hard surfaces.
The one rule that keeps your tire on the rim
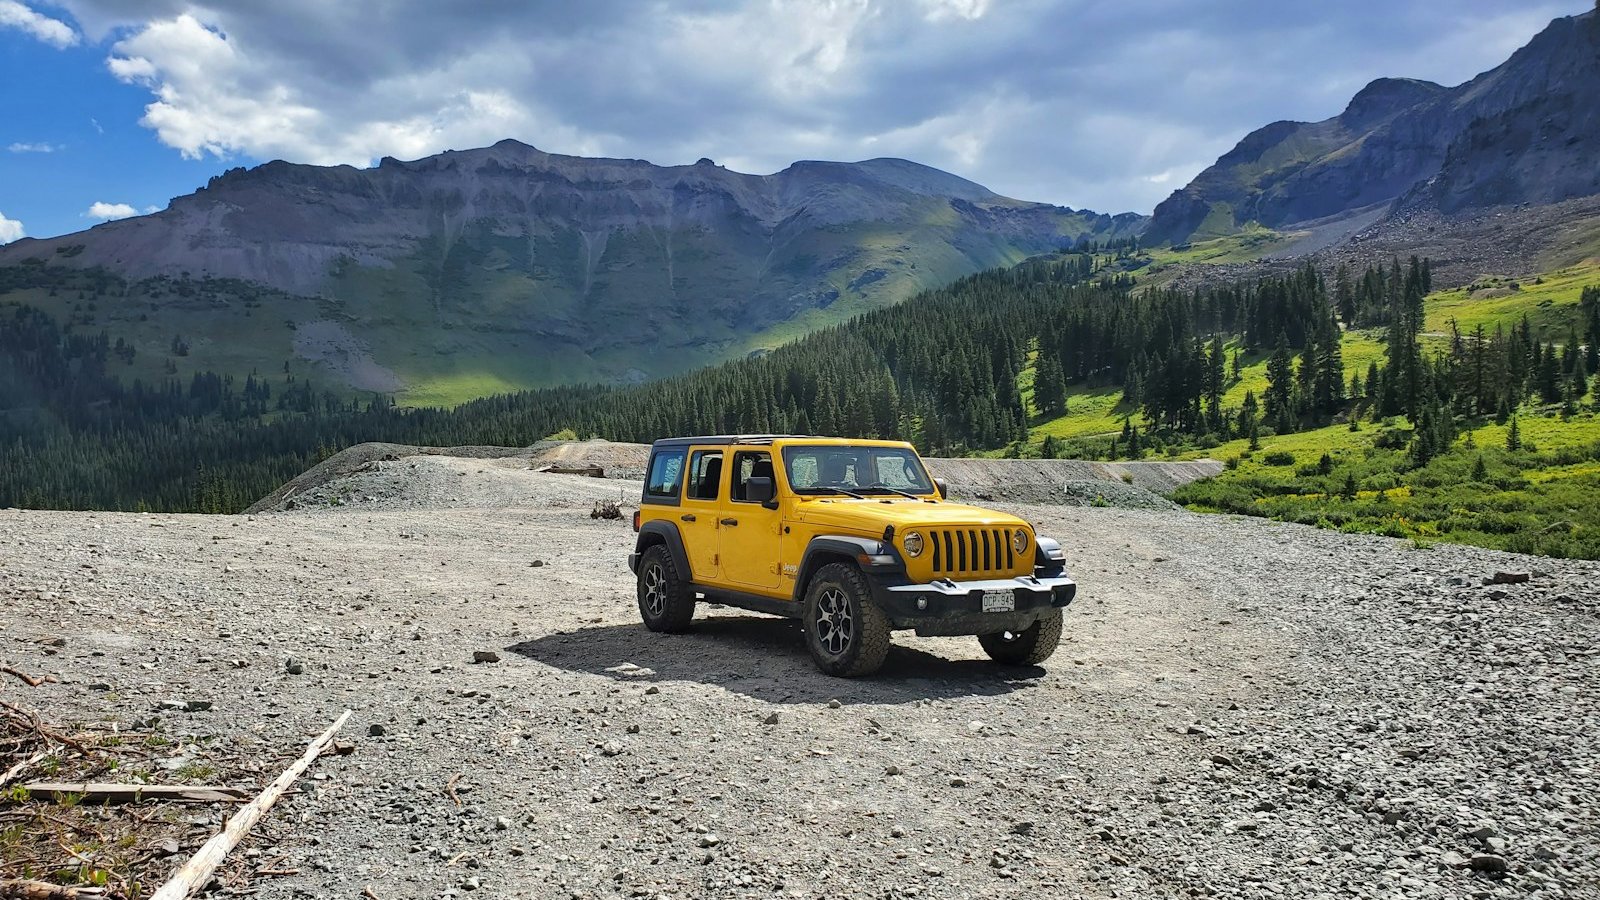 Photo: Ben Whitaker / Unsplash
Standard wheels hold the tire in place with the bead, the stiff edge of the tire that seats against the rim, and air pressure is what keeps that bead locked in. Drop the pressure too far and a hard corner or side load can break the bead and peel the tire right off the wheel. That is a bad day at the trailhead.
If you want to run really low pressures, in the single digits or low teens, that is what beadlock wheels are for. They physically clamp the bead to the rim so the tire stays put no matter how low you go. Without beadlocks, keep your pressures reasonable, avoid aggressive cornering when aired down, and you will be fine.
Know your tire and wheel limits, and when in doubt, err a couple of PSI higher.
The part everyone forgets: airing back up
Airing down is only half the job. You have to air back up before you return to pavement, and this is non-negotiable.
Running highway speeds on low pressure builds heat fast. A soft tire flexes far more than it is designed to, that flex generates heat, and heat is what destroys tires. You can do real damage, including a blowout, by cruising home at 65 MPH on 15 PSI. It is also illegal to be that far below spec on public roads in a lot of places, and for good reason.
So carry a compressor that can actually handle your tire size, and air everyone in your group back up at the trailhead before you hit the road. A quality portable compressor is the other half of the airing-down equation, and for a lot of us it is the single most-used trail tool we own.
Air down at the trailhead, air up before the highway. Make it a ritual and you will never regret it.
How to actually do it
The process is simple once you have done it a few times:
- At the trailhead, find your starting pressure for the terrain using the ranges above.
- Deflate each tire using a deflator or the pin on a tire gauge. Dedicated deflators that let air out of all four tires at once are worth every penny if you off-road often, because letting air out one valve stem at a time gets old fast.
- Check each tire with a quality gauge. Do not eyeball it. A good gauge is the difference between dialing in your pressure and guessing.
- Hit the trail, and pay attention to how the rig feels. If you are still bouncing and slipping, you can usually go a little lower. If the tires feel squirmy in corners, come back up a few PSI.
- At the end, air back up to your street pressure before you touch pavement.
Make it repeatable
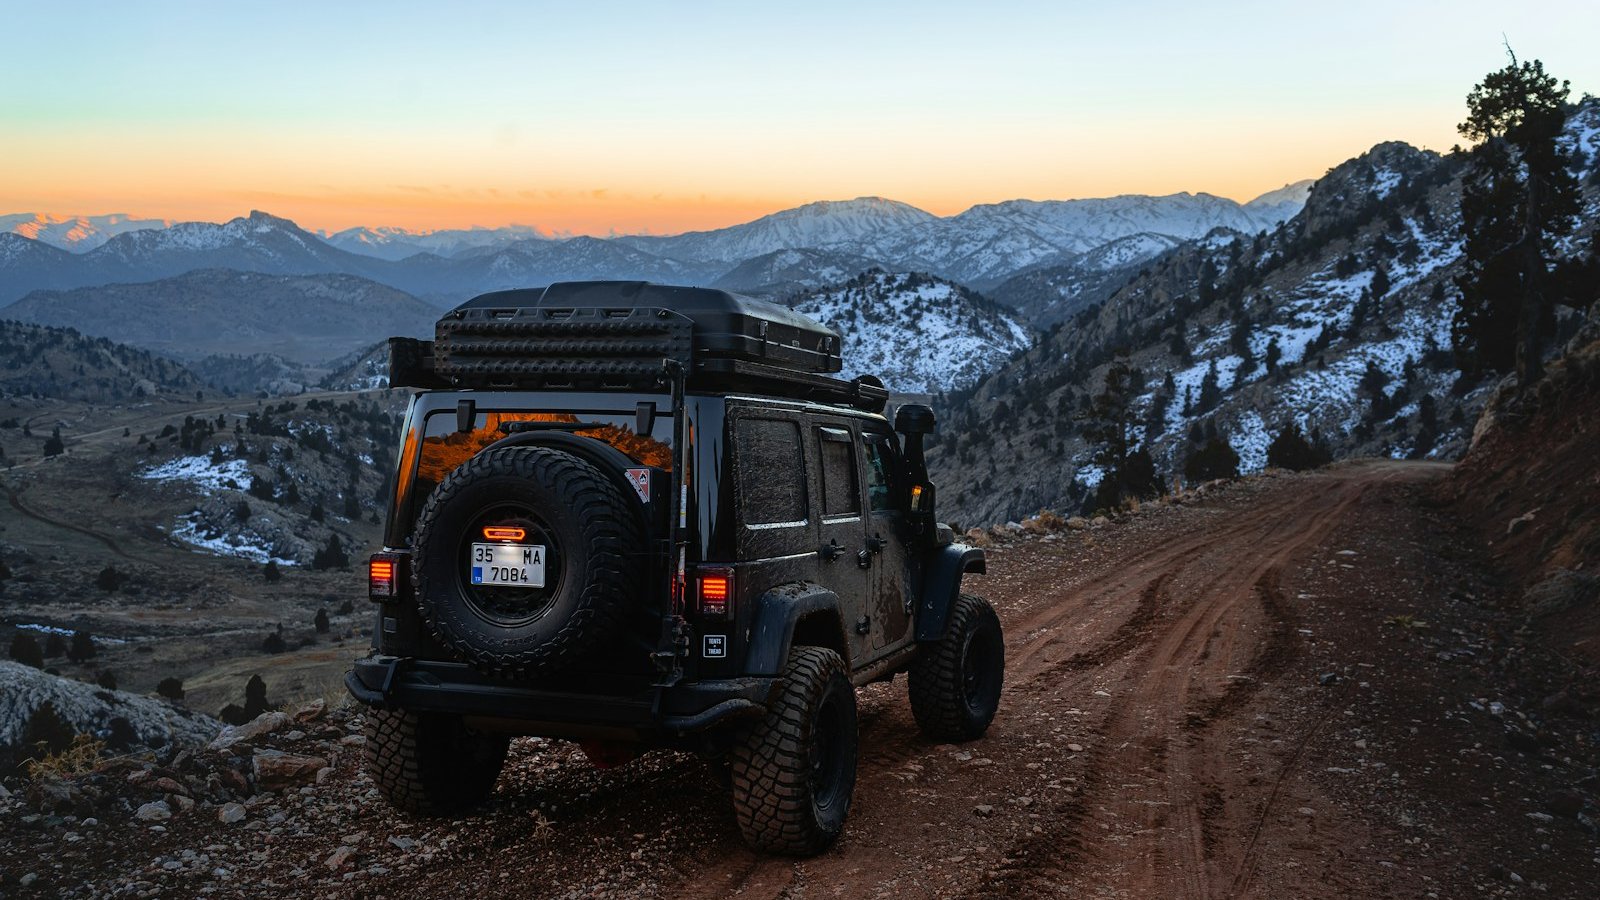 Photo: Thomas Tucker / Unsplash
The whole process takes about ten minutes for a full set once you have the rhythm, and the difference on the trail is night and day. A few habits make it foolproof:
- Write your favorite pressures for different terrain on a sticker in the glove box so you are not doing math at the trailhead.
- Keep a reliable gauge and a deflator in the rig at all times.
- Carry a compressor rated for your tire size, and test it at home before you need it in the field.
Airing down is the rare upgrade that is completely free, works on any rig, and makes you a genuinely more capable driver the moment you do it. If you take one thing from this site, take this one. We will see you out there.

Hero photo: Cedrik Wesche / Unsplash