

There is a myth floating around the off-road world that you need a fully kitted six figure rig before you are allowed to leave the pavement. Scroll any forum or feed and you will see flexed-out Tacomas and Land Cruisers wearing more aftermarket parts than a SEMA booth, and it is easy to believe you are not ready until your build looks like that too.
It is nonsense. Some of the best nights we have spent outside happened next to a bone stock truck with a cooler in the bed and a borrowed tent. The rig in the magazine photo is somebody’s expensive, slow-grown hobby, not the entry fee. What follows is how we would spend the money if we were starting over today, in the order that actually matters, with honest numbers where they hold up.
The build order nobody brags about
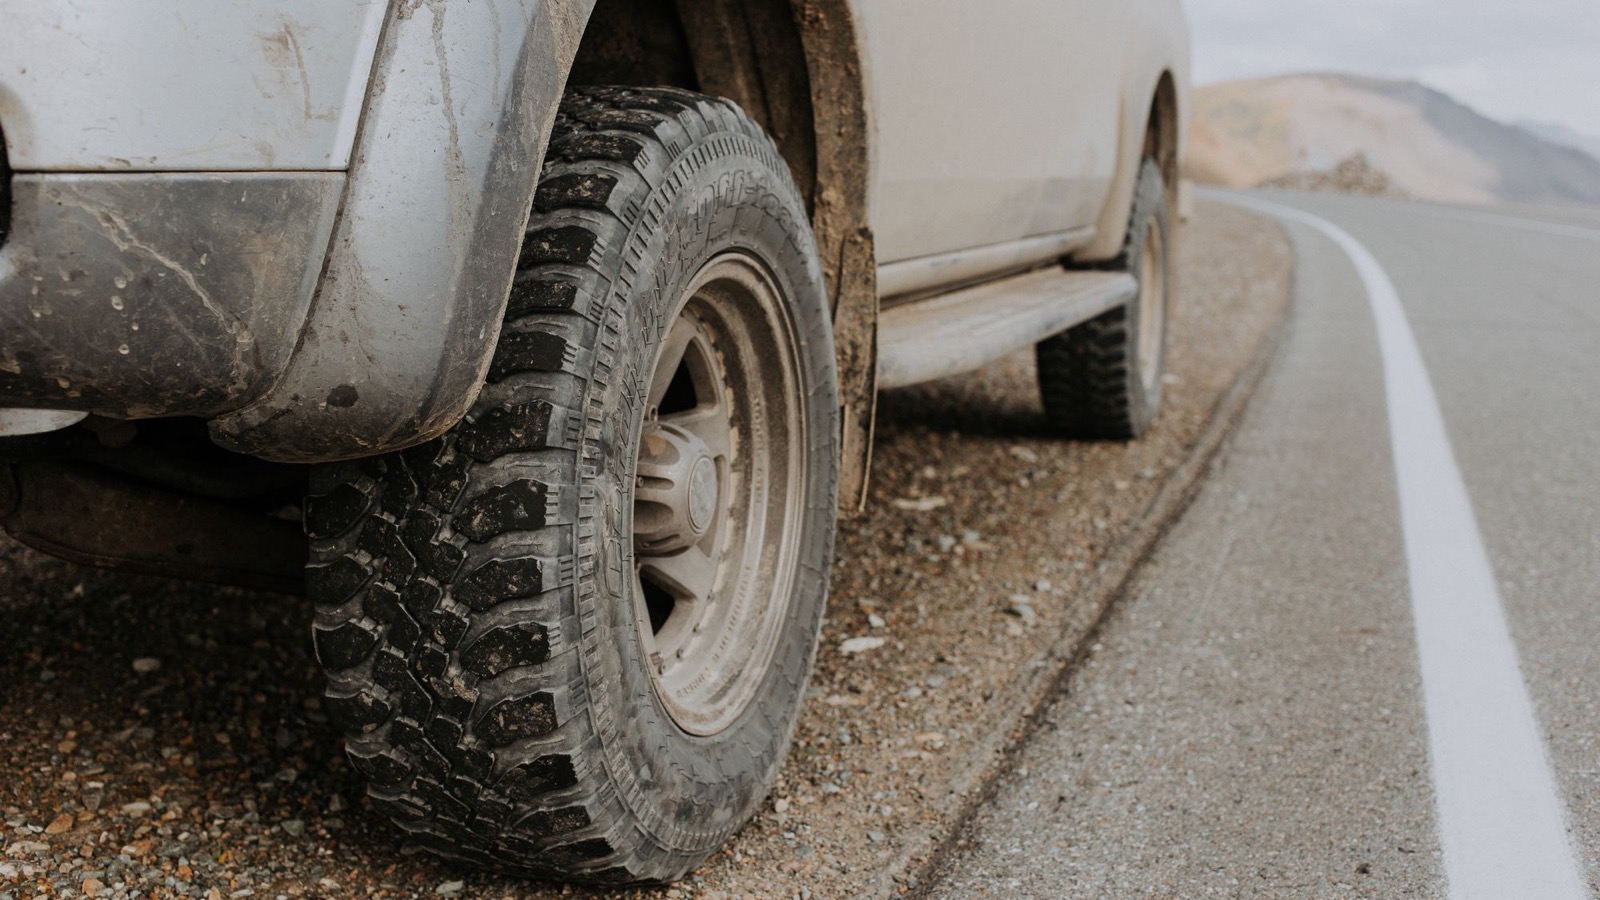 Photo: Anastassiya Golovko / Pexels
Before you spend a dollar on a fancy bumper or a roof rack full of lights, sort out the boring stuff that keeps you safe and moving. There are really only three things that earn the top of the list.
First, tires. A good set of all terrain tires is the single biggest capability upgrade you can make, and Expedition Portal and every serious overland builder will tell you the same thing: this is the starting point, full stop. ATs give you real traction in dirt, gravel, mud, and light snow while staying quiet and reasonable on the highway, and a set costs a fraction of a suspension lift. If you only change one thing, change the tires.
Second, recovery gear. You will get stuck. It is not an if, it is a when, and the first time it happens an hour from cell service you will be very glad you spent the money. A basic kit covers most days: a recovery strap, a couple of soft shackles, a pair of traction boards, a small shovel, and a way to air down and air back up. Plenty of experienced folks argue that good traction boards alone solve something like 80 percent of the situations a casual overlander actually runs into, long before you ever need a winch. Skip the winch at the start. Buy the boards.
Third, maintenance. A reliable rig beats a built rig every single time. Fresh fluids, good brakes, a healthy battery, and known-good belts and hoses will carry you further than any light bar. Even the most bulletproof Land Cruiser needs the occasional trailside fix, so the goal is not perfection, it is removing the dumb, preventable breakdowns before they strand you.
Tires, recovery, maintenance. Get those three sorted and you are already more capable than most of the shiny builds at the trailhead.
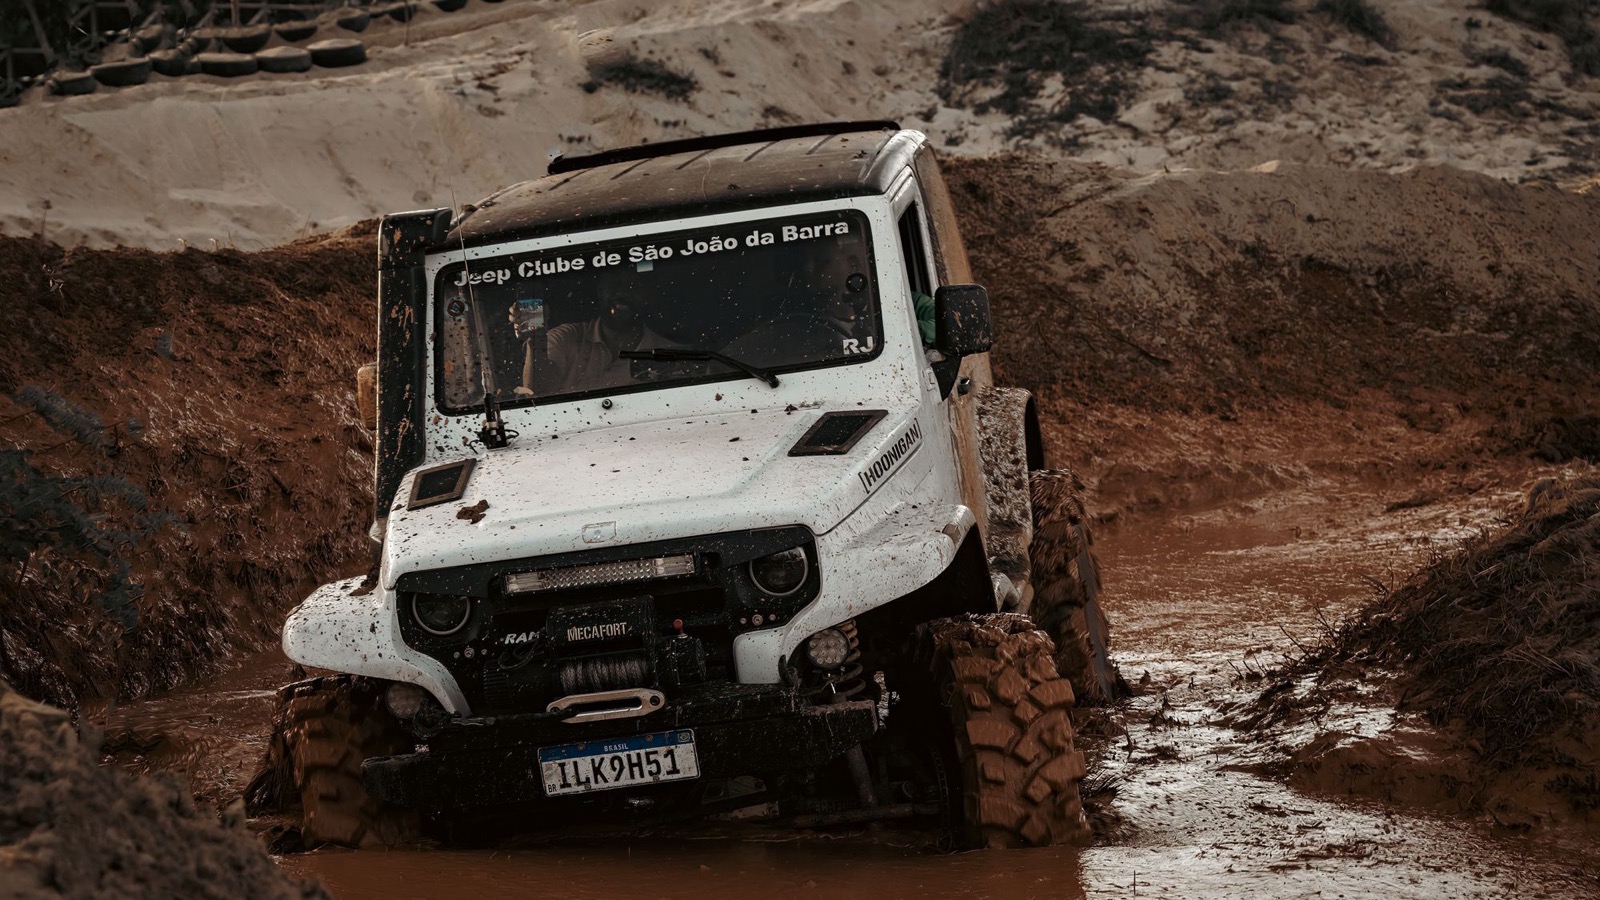 Photo: Wallace Silva / Pexels
Where you sleep, across every budget
Shelter is the place people overspend first and regret it later. You have good options at every price point, so match the gear to how often you actually go out, not to how the photo looks.
A ground tent and a decent sleeping pad is the cheapest way in, and it works great. Dedicated overland ground tents start around 400 dollars, and an ordinary backpacking or car-camping tent you already own works fine for your first season. Step up from there and a simple platform in the back of an SUV or a sleeping setup in the truck bed gets you off the ground, out of the wind, and into bed in about thirty seconds. For a lot of people that is the sweet spot and they never leave it.
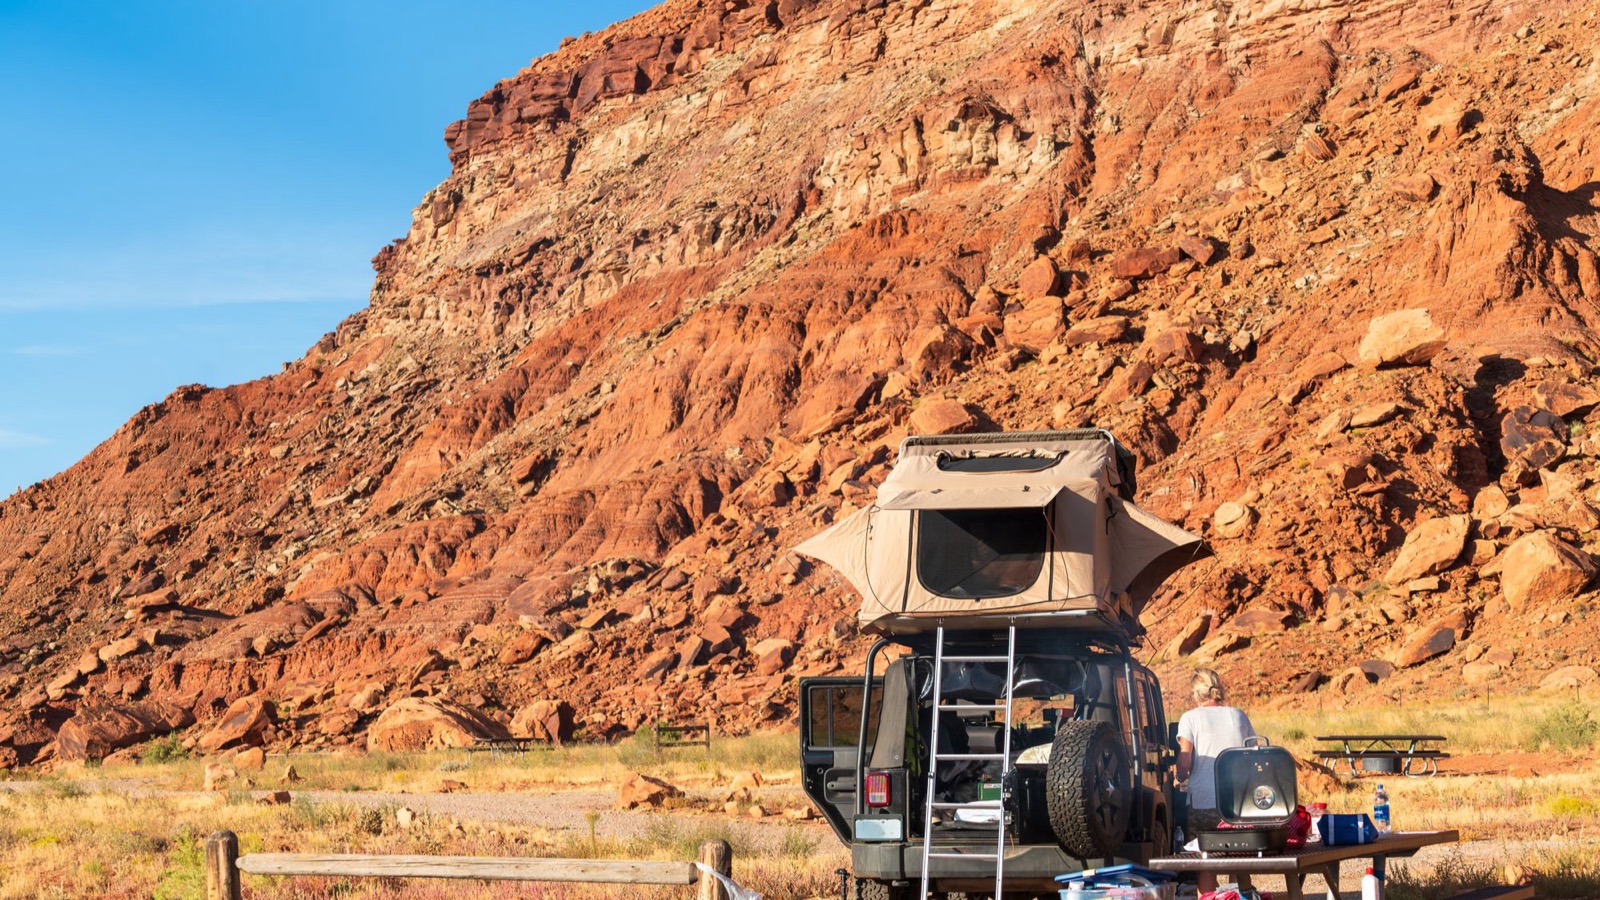 Photo: Frank Schrader / Pexels
Rooftop tents are wonderful, and they are also a want, not a need, when you are starting out. New ones run from about 1,000 dollars for entry models up past 1,500 for the well-regarded budget hardshells, and that is before a rack to hold one. The smart move if you have your heart set on a roof tent is to buy used. They hold up well, they come up constantly on Facebook Marketplace and overland forums when someone upgrades, and you can often save several hundred dollars on a tent that has only seen a dozen nights. Just inspect the canvas, zippers, and mounting hardware before you hand over cash.
Power and water without the rabbit hole
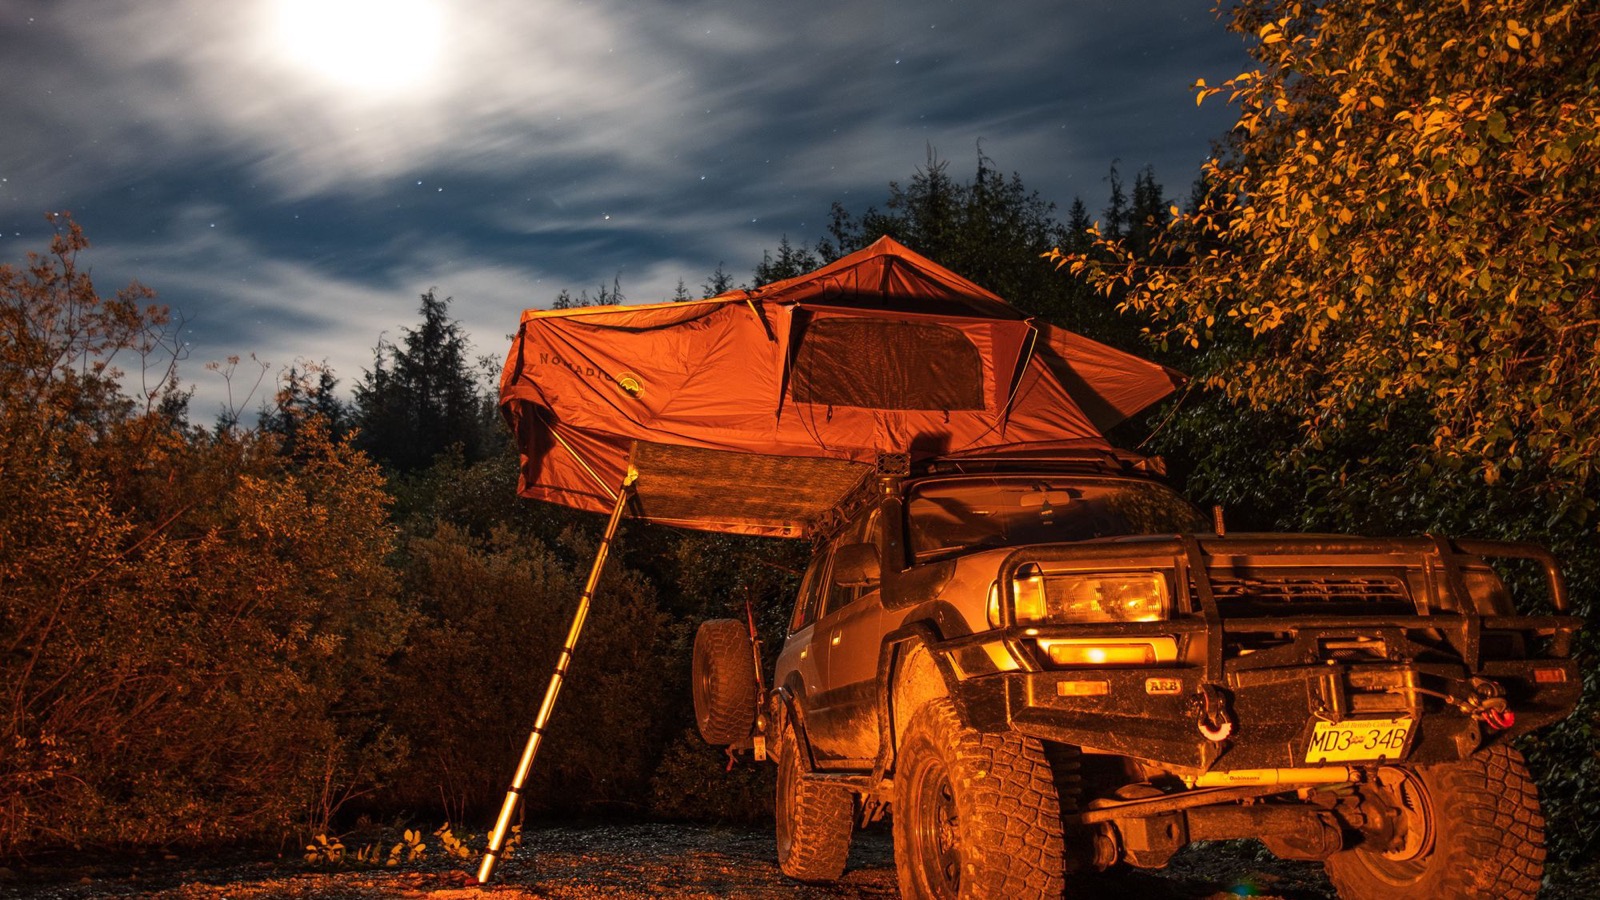 Photo: Rhys Abel / Pexels
Power is where budgets quietly explode, because it is easy to convince yourself you need a full dual-battery system with a DC-to-DC charger and a solar array before your first trip. You do not. A portable power station charged at home covers lights, phones, a laptop, and a small 12V fridge for a weekend, and you can top it off from your vehicle’s 12V socket while you drive. For most weekend trips something in the 500 to 1,000 watt-hour range is plenty, and a 1,000Wh station will run a small fridge for the better part of a long weekend on its own. A dual-battery setup is a genuine upgrade for people who go out often and stay out for many days at a stretch, but it is an upgrade you can make later, once you actually know your power habits.
Water is even simpler, and this is one place where cheap really does work. The standard planning number is roughly one gallon of water per person per day for drinking, cooking, and cleaning, so a couple of rigid jugs cover a weekend for two without any drama. Add a basic squeeze or pump filter so you can refill from a stream or a questionable spigot and you are set for almost anything short of a true expedition. A permanently mounted tank with a pump and a faucet is lovely, and it is also a project for later. Jugs and a filter get you there now for under fifty bucks.
Storage, and the save-versus-splurge call
Organization is the upgrade that makes every trip feel more dialed, and it barely costs anything. You do not need a powder-coated drawer system to start. A couple of plastic totes with latching lids, one for kitchen and one for tools and recovery, will keep your gear from turning into a sliding pile every time you hit a washboard road. Label them, keep the recovery tote where you can reach it without unpacking the whole truck, and upgrade to a real drawer setup down the line when you know exactly how you pack.
Here is the honest save-versus-splurge breakdown. Splurge on tires, on a quality recovery kit, and on whatever keeps you sleeping warm and dry, because those three touch your safety and your sleep, and bad versions of them ruin trips. Save on almost everything else at the start: storage, lighting, kitchen gear, and especially the cosmetic stuff. Buy used wherever you reasonably can, and let real trail time tell you what to upgrade instead of guessing from a parts catalog.
Take it out before it is done
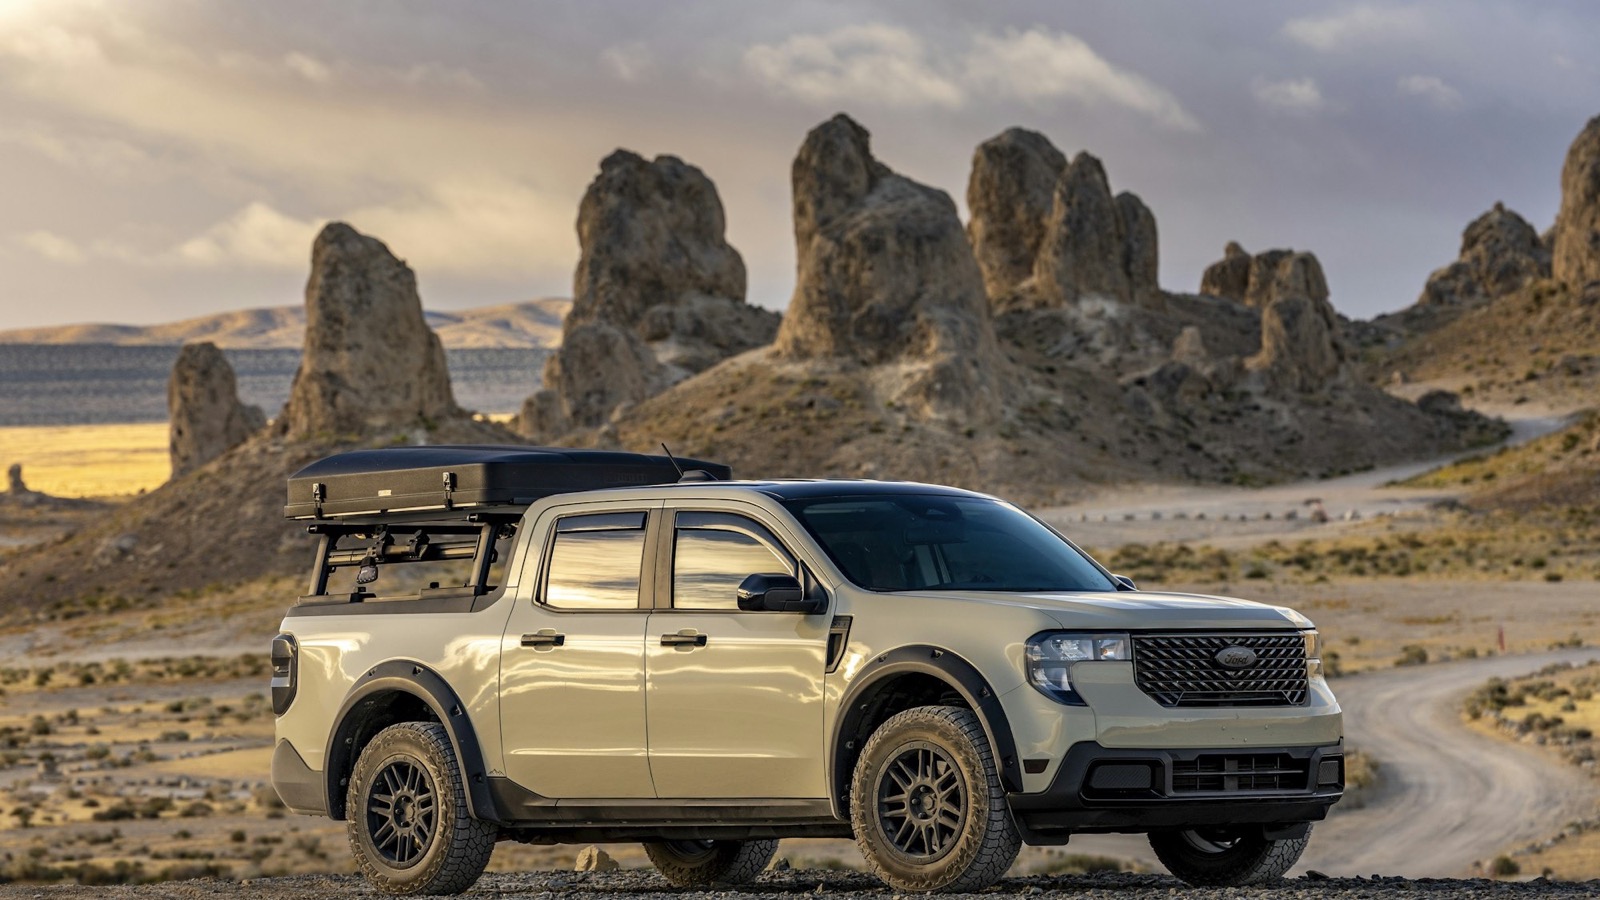 Photo: Leo_Visions / Unsplash
This is the part we feel strongest about. Take the rig out before you finish building it. You will learn more about what you actually need from one muddy, slightly-too-cold weekend than from a month of scrolling forums and adding parts to a cart. Real trail time tells you whether you need more ground clearance or just a better camp chair, whether your power setup is undersized or wildly overkill, whether you actually mind the ground tent or genuinely want that roof tent.
A build is never finished anyway. The folks with the rigs you envy did not buy that setup, they grew it one trip and one lesson at a time, and most of them will tell you the early bare-bones trips were the best ones. So get the tires and the recovery gear sorted, throw your existing camping stuff in the back, and go. Build slow, drive far, and figure out the rest around a fire somewhere with no cell signal. We will see you out there.

Hero photo: Peter Schulz / Unsplash