

Water is the one obstacle on the trail that will punish you for being confident. A rock garden that beats you just leaves scratches. A bad water crossing can fill your engine with river in about a second and turn a fun Saturday into a five-figure tow bill. The frustrating part is that most of the guys who kill an engine crossing water did not do it in some raging river. They did it in a puddle they never bothered to walk.
So let’s do this right. This is the actual method, step by step, the way the people who cross water all the time actually do it. No hero moves, no gunning it for the camera. Just the process that keeps water on the outside of your rig where it belongs.
Step One: Stop and Actually Look
The single most important thing you can do at a water crossing happens before a tire ever touches the water. You stop, you get out, and you look.
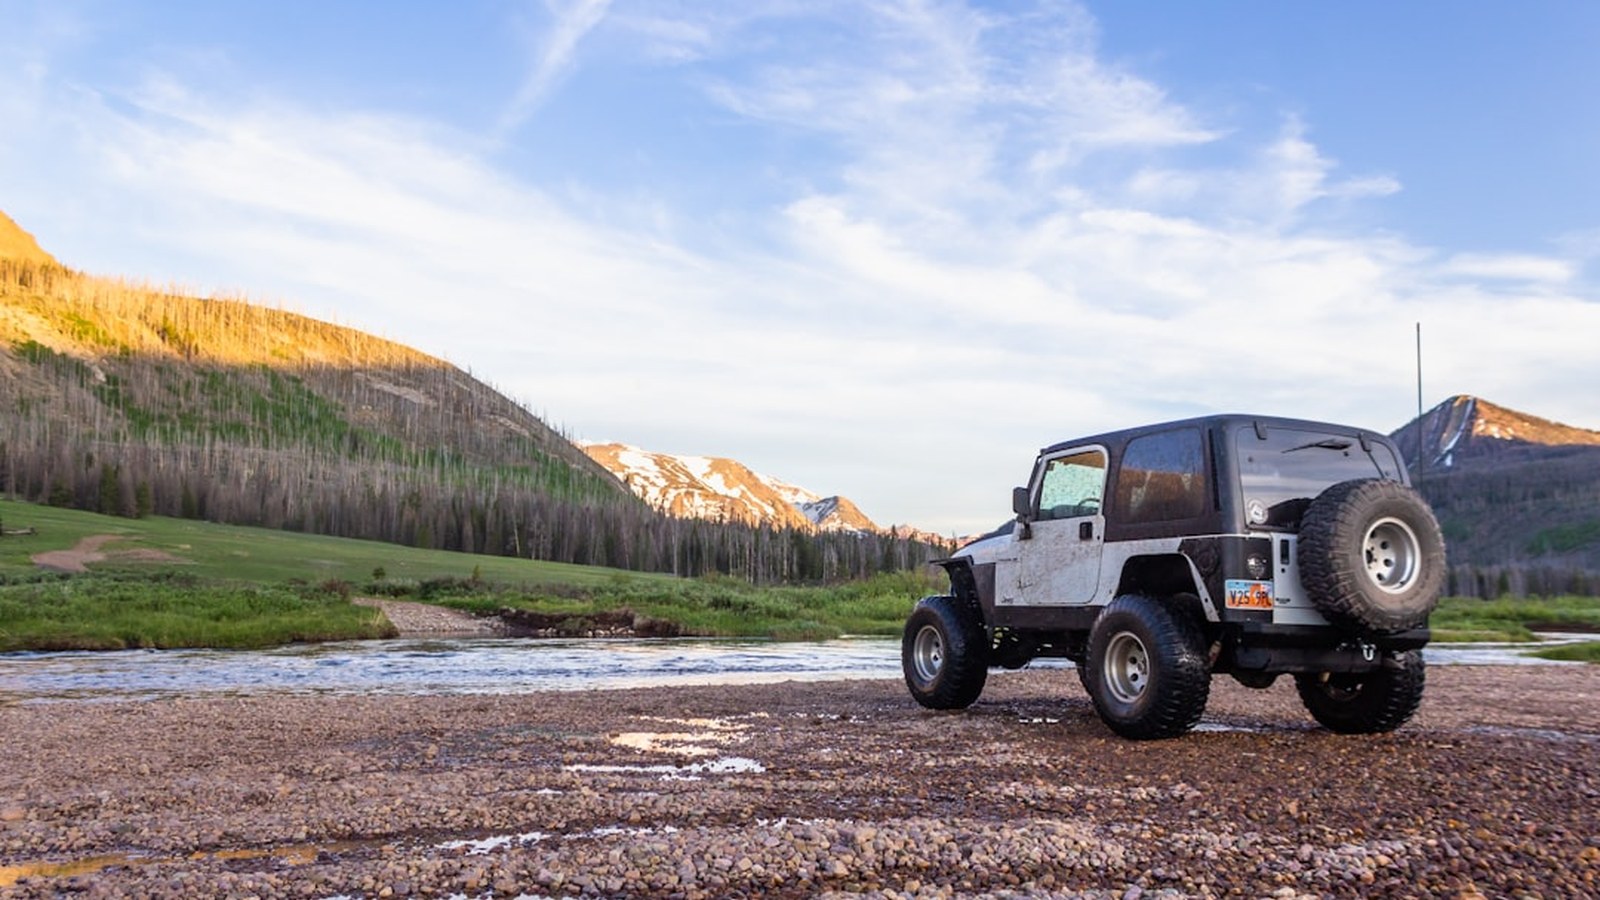 Every good crossing starts the same way: park, get out, and read the water before you commit. Photo: Wyatt Dilley / Unsplash
Ask yourself the honest question first: is this crossing even necessary? A lot of trails have a bypass or a bridge sitting right there. If there is a dry line, take the dry line. There is no trophy for driving through water you did not have to. Pull up your onX Offroad map and check for an alternate route before you assume the wet line is the only line.
While you are stopped, you are also doing your engine a favor. If you have been wheeling hard, your diffs and transmission are hot. Dropping a hot differential straight into cold water creates a vacuum that can actually suck water past the seals and into your gear oil. A few minutes standing at the bank lets everything cool down before you commit.
Step Two: Walk It First
This is the rule that separates people who cross water for years without a problem from people who buy engines. If you can walk it, you wade it first.
 If it is safe to wade, walk the whole line. Your feet tell you everything a windshield cannot. Photo: Lidia Usoltseva / Unsplash
Grab a stick or a recovery tool and walk the exact line you plan to drive, all the way across. You are checking three things. First, depth, and not just the deepest spot but how it changes across the whole crossing. Second, the bottom. Packed rock, gravel, and hard sand are your friends. Bottomless mud and silt will swallow a tire and stop you cold. Third, hidden obstacles, the submerged boulder or the washed-out hole you would never see from the driver’s seat.
Here is the hard line, and it is not negotiable: if you cannot safely walk across it because the current is too strong, the water is too deep, or the bottom is too soft, you do not drive it either. Moving water is far more dangerous than people think. Just six inches of moving water can knock an adult off their feet, and roughly a foot of current can float and carry away a small vehicle. Water flowing at only 6 mph exerts the same force per square foot as EF5 tornado winds. Respect it.
Step Three: Know Your Rig’s Real Wading Depth
Once you know how deep the water is, you need to honestly know how deep your rig can go. Most stock 4x4s have a factory-rated wading depth somewhere around 600mm, right about 24 inches, but this varies a lot by vehicle and you should look up the real number for yours instead of guessing.
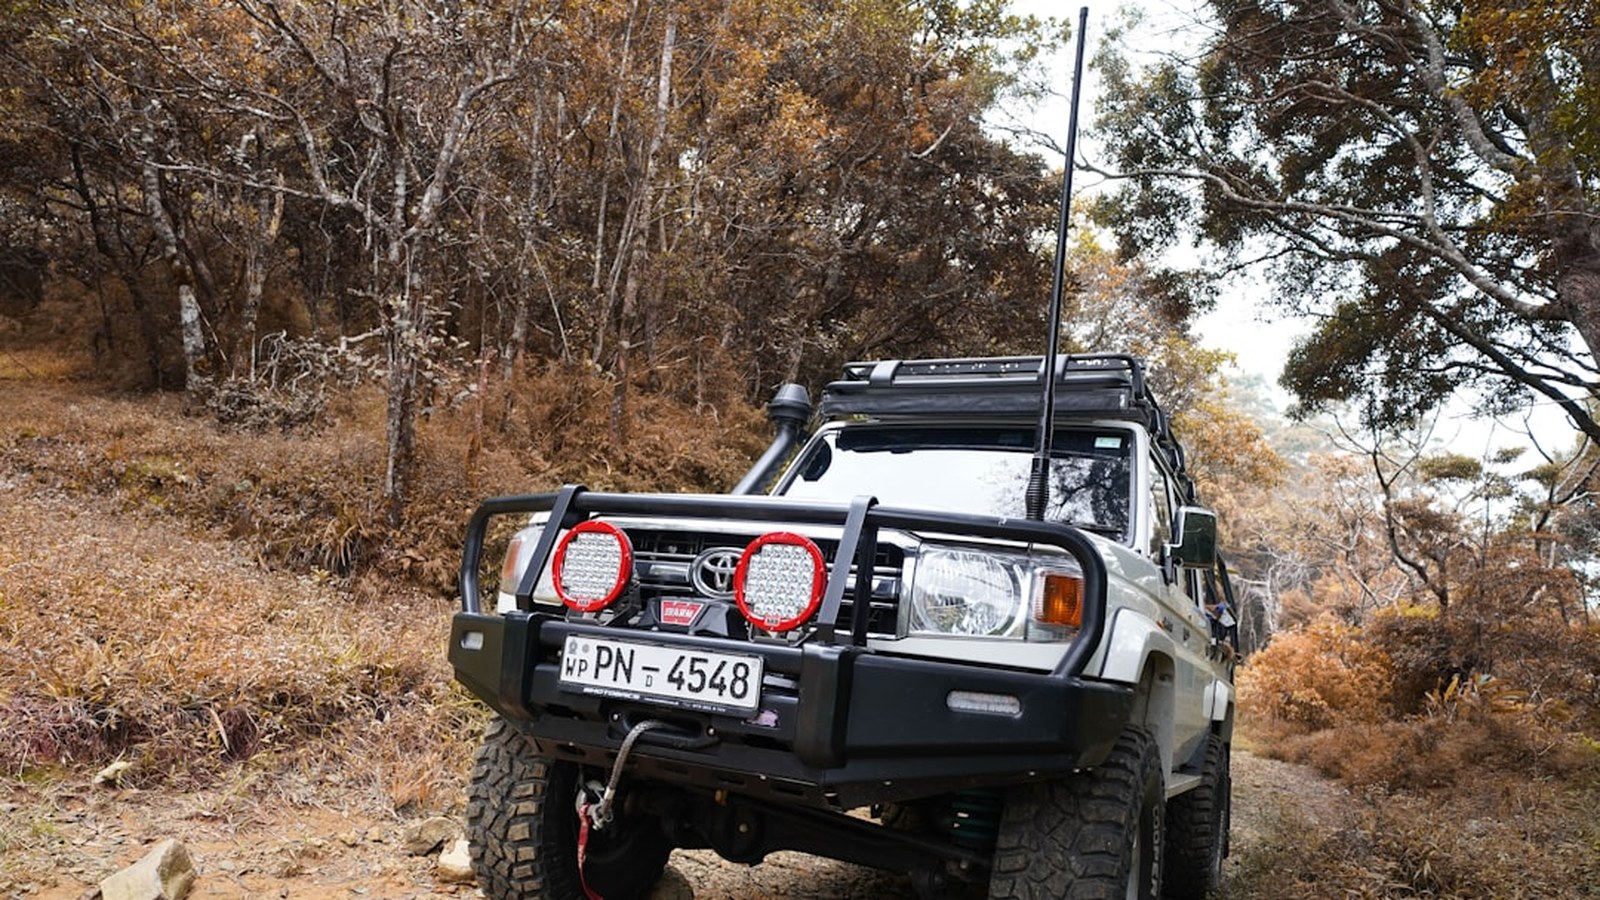 A snorkel relocates the air intake up near the roofline, but it is only one piece of a deep-water build. Photo: Vinal Gunasekera / Unsplash
The number that matters most is where your engine breathes. On a stock rig the air intake usually sits behind a headlight, and the moment water gets sucked into that intake, you are looking at hydrolock. Water does not compress like air, so when a piston tries to squeeze a cylinder full of water, something has to give. Bent connecting rods, a cracked block, a dead motor. People have hydrolocked and totaled vehicles in a single foot of water because the intake was low and they hit it too fast.
A snorkel raises that intake up to roughly roofline height, several feet above the factory location, which is why serious deep-water rigs run them. But a snorkel alone does not make you a submarine. To actually use that depth you also need to think about differential and transmission breathers extended up high, electronics like the ECU and alternator protected, and every seal in good shape. Cross within your rig’s real limit, not the limit you wish it had.
Step Four: Prep the Cabin and the Recovery Plan
Before you roll in, take thirty seconds to set up for the worst case. Have everyone unbuckle their seatbelts and roll the windows down, especially with power windows, so nobody is trapped if the rig gets pushed or takes on water. It feels dramatic until the one time it matters.
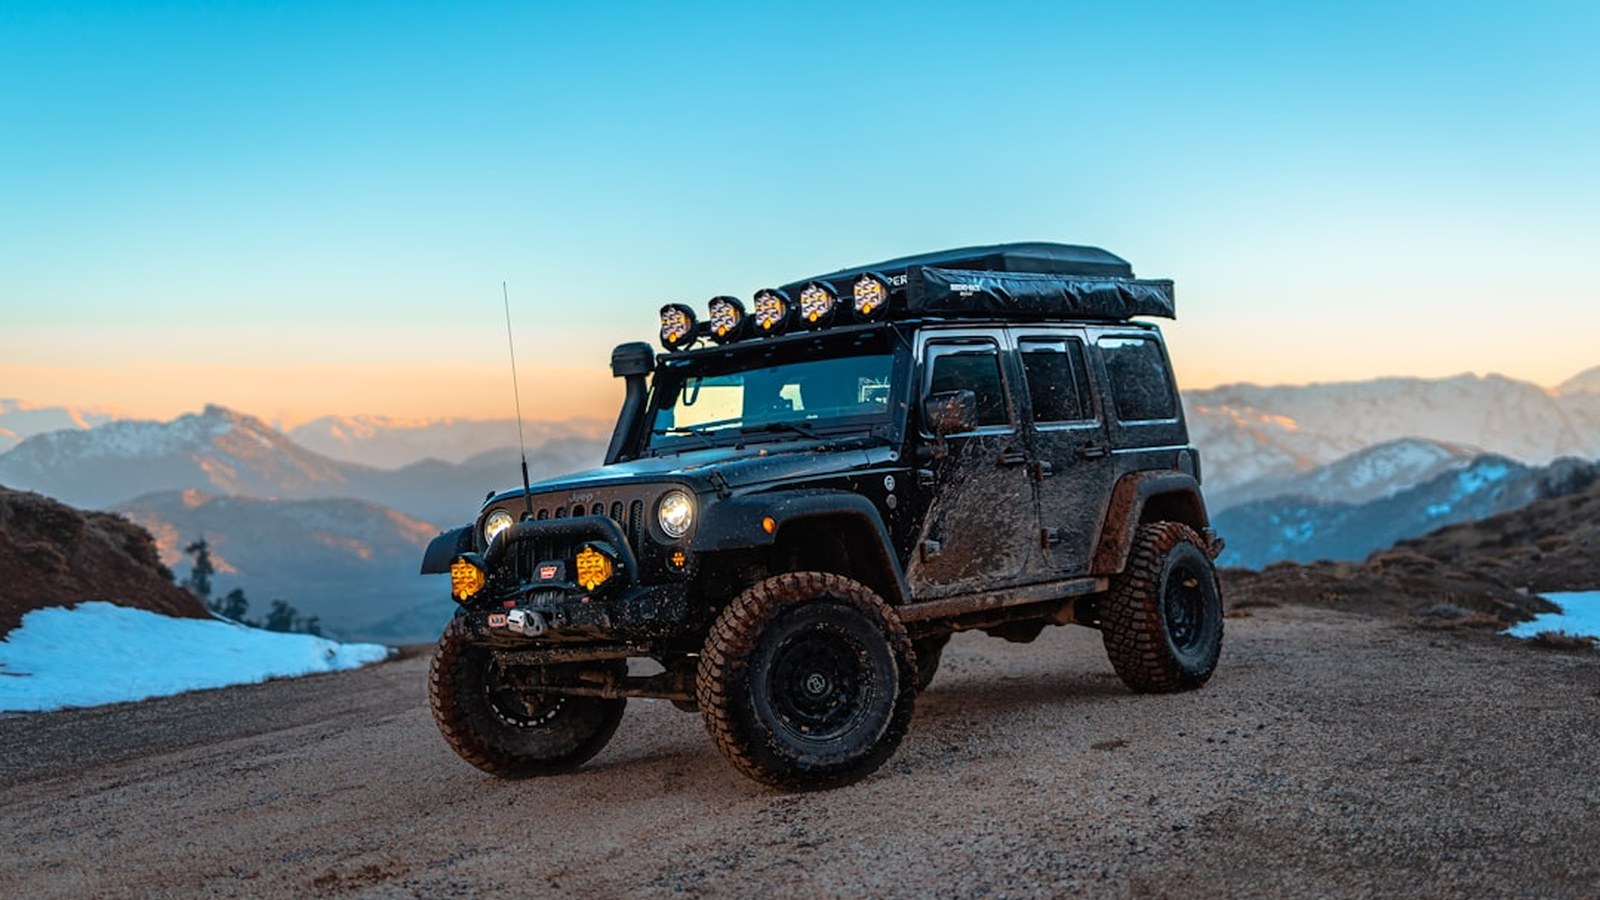 Have your winch and recovery gear ready and reachable before you enter, not after you stall. Photo: Thomas Tucker / Unsplash
Have your recovery gear ready and reachable above the water line, not buried under a cooler. If you run a winch, know that wireless remotes will not work underwater, so plan for that. Ideally you have a second rig on the bank as your recovery anchor. Crossing water solo raises the stakes on everything, because if you stall in the middle there is nobody to pull you out. If you are wheeling alone, be even more conservative about what you attempt.
Step Five: Drive It, Slow and Steady
Now the actual crossing, and it is calmer than you would expect. Select low range and a low gear, ease into the water, and hold a steady pace about as fast as a brisk walk. You are not trying to go fast and you are absolutely not gunning it.
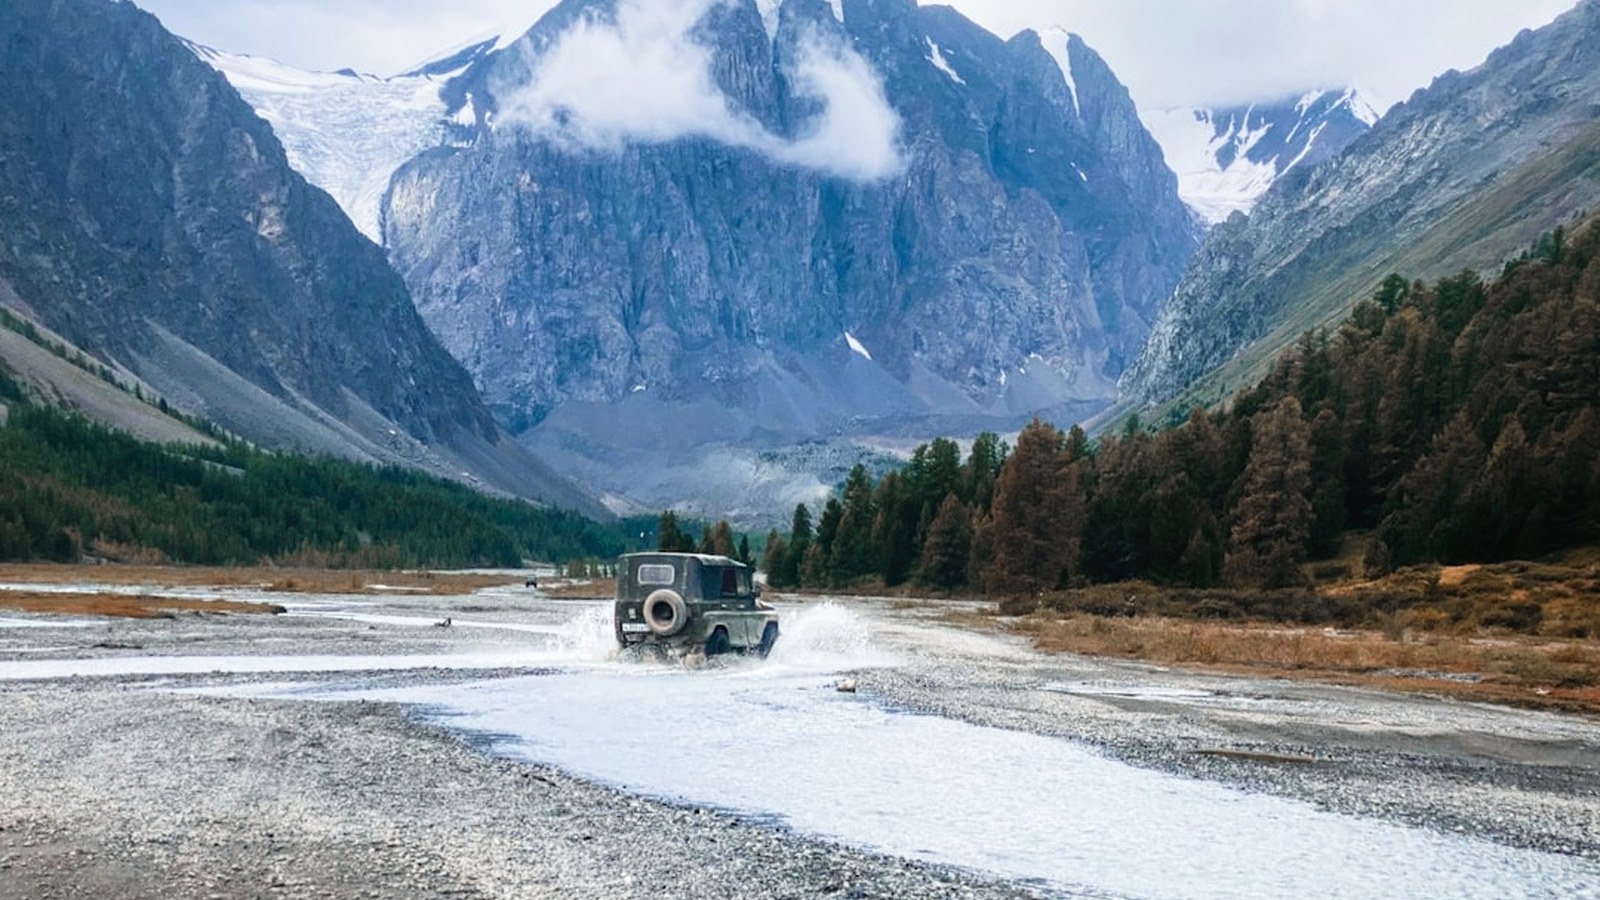 Steady throttle builds a bow wave that pushes a trough of lower water back over the engine bay. Photo: Alexander Popovkin / Unsplash
The magic here is the bow wave. Moving at a consistent speed pushes a wave of water ahead of your bumper, and behind that wave sits a pocket of lower water right over your engine bay. That trough is what keeps water away from your intake and electronics. Too slow and you lose the wave. Too fast and you throw water everywhere, up over the hood and straight into places it should never go. Smooth and even is the whole game.
Keep the throttle consistent, drive straight across or angle slightly downstream rather than fighting upstream into the current, and do not stop in the middle. If you run a manual, do not shift while you are in the water, because pushing the clutch in drops your rpm and kills the bow wave, and you risk stalling. One committed, controlled pass.
Step Six: If the Engine Dies, Do Not Restart It
If your rig stalls in the water, fight every instinct you have and do not crank it again. If water got into the intake, turning the engine over just pulls more water into the cylinders and turns a possible save into a guaranteed rebuild. Kill the ignition, get everyone out safely, and switch to recovery mode. Winch it or strap it out, then diagnose on dry land. A stalled engine that never got restarted often survives just fine. A restarted one usually does not.
Step Seven: Check Your Fluids After
You made it across. You are not done. Deep crossings can push water past breathers and seals into your differentials, transfer case, and transmission, and contaminated gear oil looks milky or coffee-colored instead of clean.
 After a deep one, check your diff and transmission fluid. Milky oil means water got in and needs to come out. Photo: Wyatt Dilley / Unsplash
When you get home, or that evening at camp if you carry the fluids, pull the diff fill plugs and check. If the oil is milky, water got in and that fluid needs to be drained and replaced before it eats your gears. Also pump your brakes a few times as you drive off, since wet rotors bite poorly until they dry out. Sixty seconds of checking on the far bank is a lot cheaper than a rebuilt axle.
The Short Version
Crossing water safely is not about a brave right foot. It is about patience. Walk it, know your limits, set up for a rescue you hope you never need, then cross slow and steady on one clean line. Do that every time and water goes from the scariest obstacle on the trail to just another thing you and your rig handle without drama. Rush it, and the trail will remind you why the calm guys never seem to break anything.

Hero photo: Thomas Tucker / Unsplash