
Walk any trailhead parking lot at night and you will see the same mistake over and over. A brand new rig with a 40-inch light bar bolted across the roof, every LED blazing, and the driver still crawling through a rock garden squinting at shadows he cannot see into. The light bar looks incredible. It is also aimed a quarter mile down the trail at nothing, while the boulder about to bite his sidewall sits in total darkness.
Off-road lighting is not about how many lumens you can strap to your truck. It is about putting the right beam pattern in the right place for the kind of driving you actually do. Light bars, pod lights, and ditch lights each solve a different problem, and the setup that actually lights the trail uses them together on purpose. Here is how each one works and how to build a system instead of a light show.
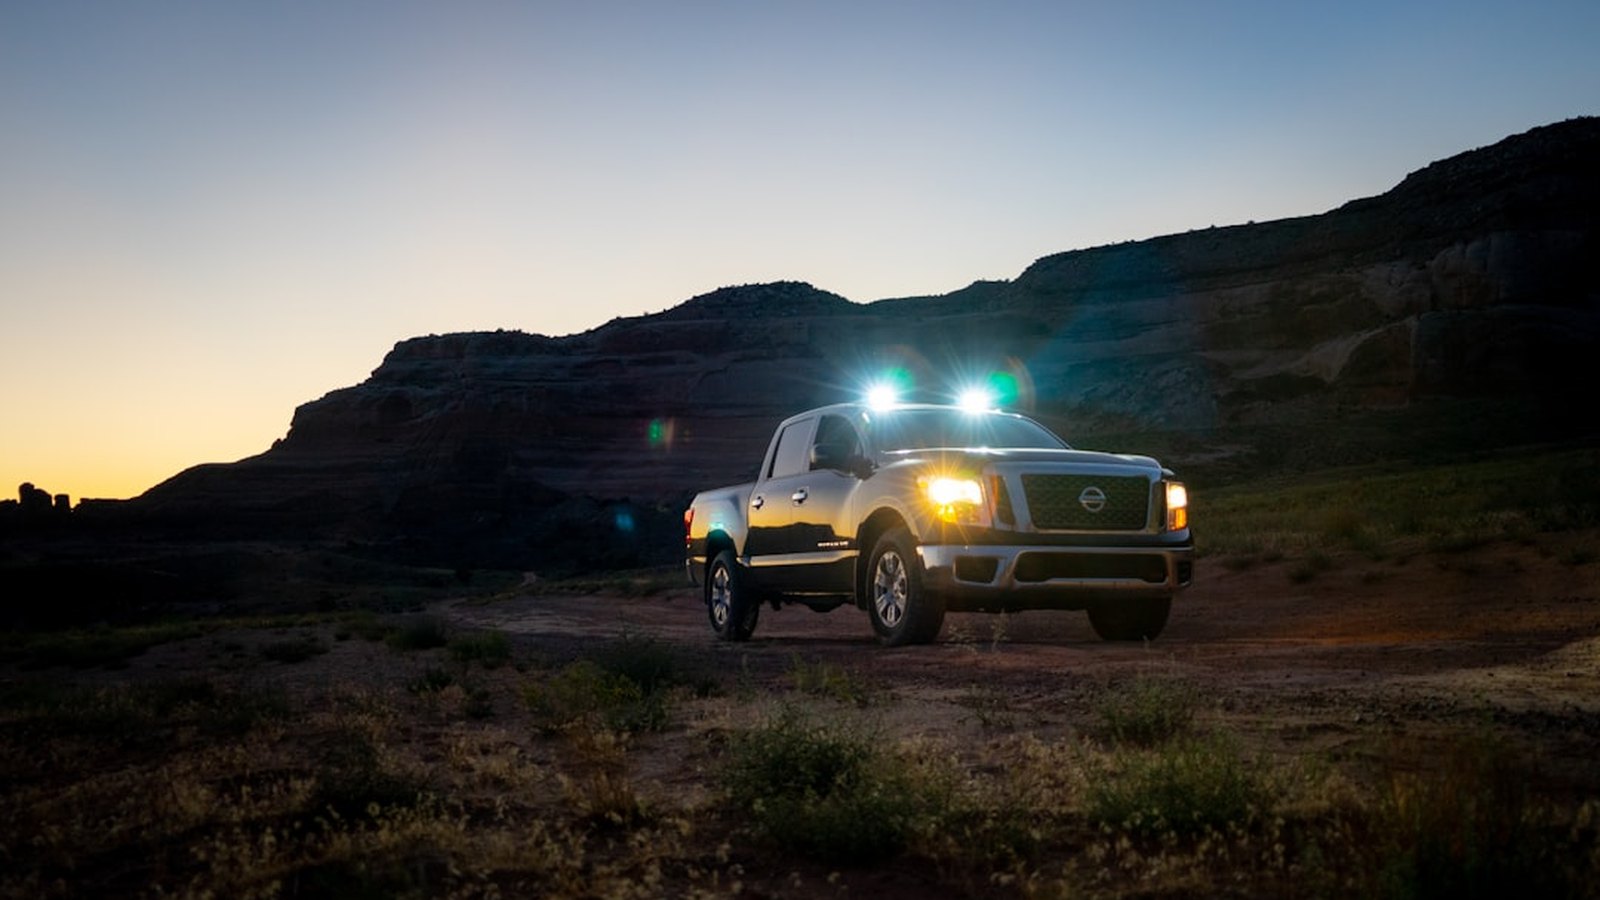 Photo: Mike Newbry / Unsplash
The Three Types, and What Each One Is Actually For
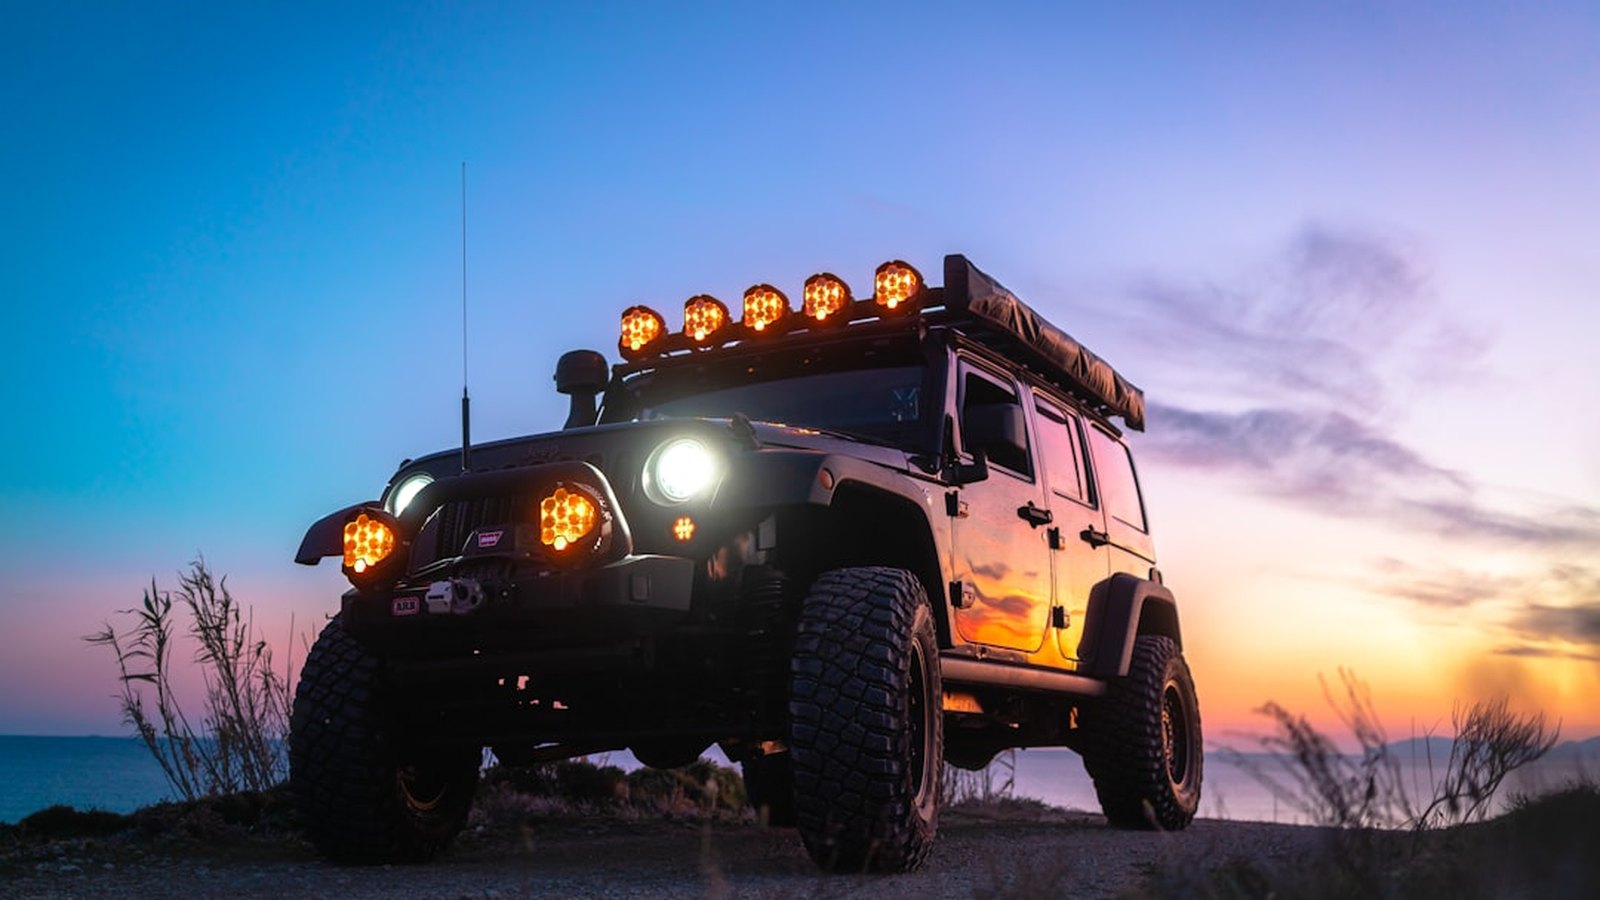 Photo: Thomas Tucker / Unsplash
There are really only three categories worth talking about for most builds, and they get confused constantly because a lot of them use the same LED chips inside.
Light bars are long horizontal fixtures, anywhere from a single 12-inch bar up to a 50-inch monster, usually mounted high on the roof, the windshield frame, or across the front bumper. Their whole reason for existing is broad forward coverage. Mounted high and pointed straight ahead, a light bar throws a wide wall of light down the trail so you can see the road, the terrain to either side, and what is coming at speed.
Pod lights are compact cube or round housings, typically 2 to 5 inches, that pack a few high-output LEDs into a small package. Their advantage is not raw output, it is flexibility. A pod bolts almost anywhere: bumper, A-pillar, roof rack, bed rack, rocker sliders. Because they are small you can aim each one at a specific job, which is exactly why serious builds run pods in multiple positions instead of one giant bar.
Ditch lights are not really their own type of light. They are pod lights defined by where they mount and how they are aimed. Ditch lights sit down near the hood hinges, the cowl, or the A-pillar base, and they are aimed outward and slightly forward at the sides and front corners of the truck. Rough Country, KC HiLiTES, and pretty much every off-road lighting brand describe them the same way: hood-area auxiliary pods pointed at the trail edges rather than straight ahead. They light up the ditches, hence the name, and the stuff about to jump into your path from the sides.
Beam Pattern Matters More Than the Light
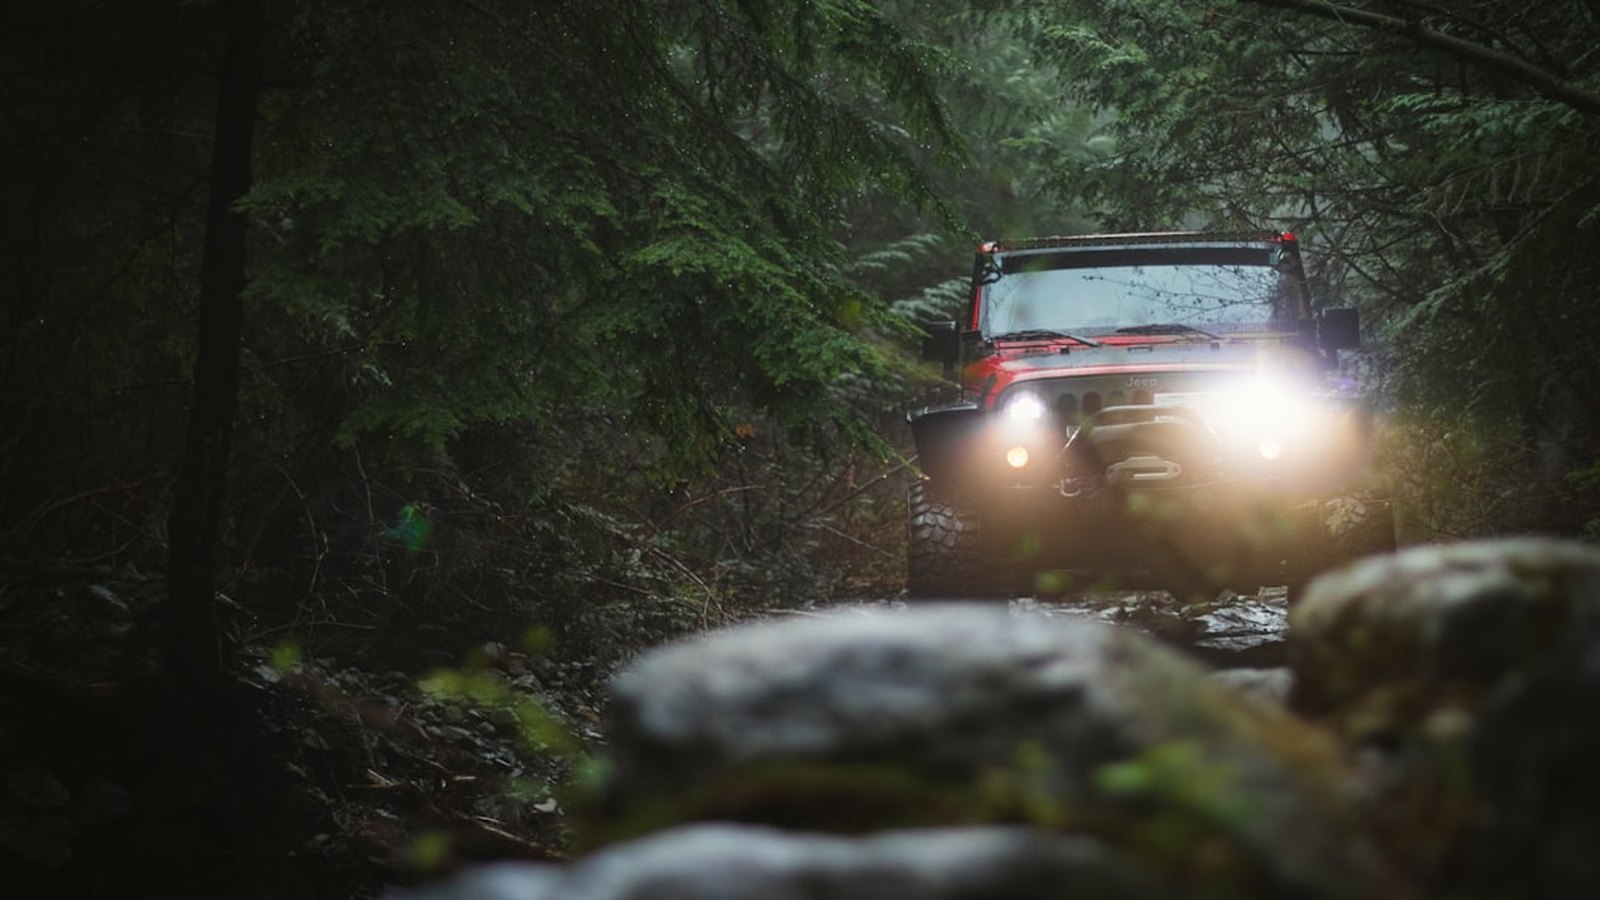 Photo: Greg Rosenke / Unsplash
Before you buy anything, understand beam pattern, because it decides where your light actually goes. A cheap light with the right beam beats an expensive one aimed at the wrong distance every time.
- Spot throws a tight, focused column far down the trail. Great for distance and speed, useless for anything close because the beam is too narrow to fill your peripheral vision.
- Flood spreads light wide and close. This is what you want for slow technical work, rock crawling, and camp. It lights up everything near the truck but does not reach far.
- Driving sits between spot and flood, a medium throw that covers a usable middle distance. A lot of pods ship in a driving pattern for exactly this reason.
- Combo puts spot optics and flood optics in the same housing so you get near and far coverage from one light. Combo is the default choice for most light bars because a long bar has enough LEDs to do both jobs at once.
The practical takeaway: match the beam to the distance you need lit. High-speed desert running wants spot and driving reach. Technical crawling and camp want flood spread. Most rigs need some of both, which is the entire argument for running more than one type of light.
Where Each One Wins
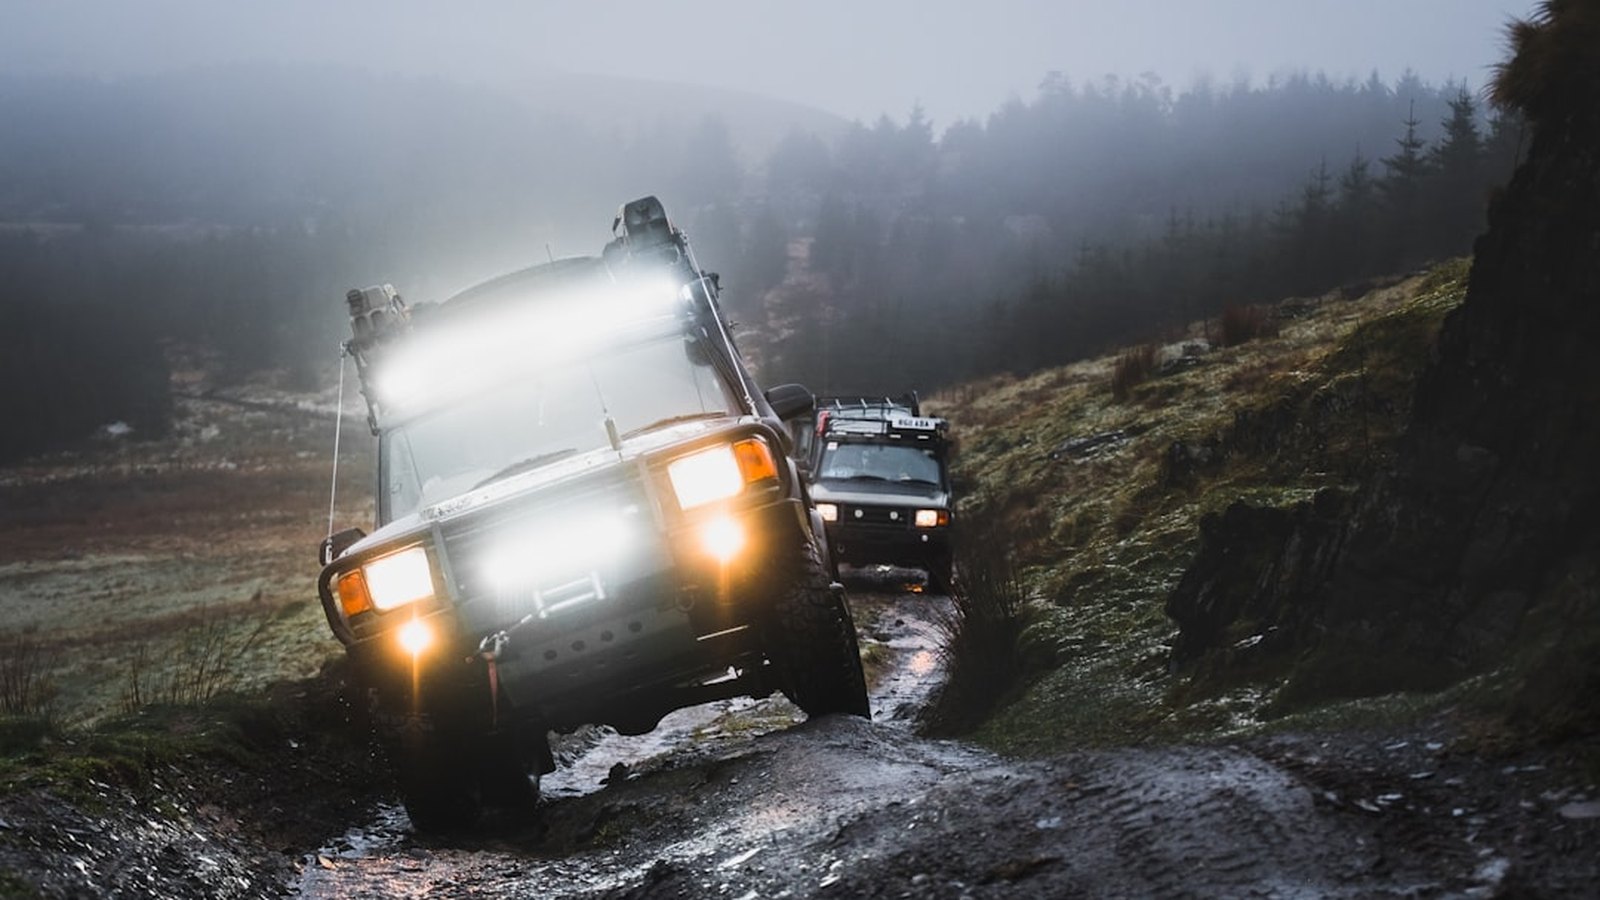 Photo: Thomas Tucker / Unsplash
Light bars win at speed and open ground. If you run fire roads, dirt two-tracks, or open desert at any real pace, a roof or windshield-mounted combo bar gives you the reach and the width to drive confidently. Mounted high, it clears the hood glare and lights the terrain well ahead of you.
Pods win at flexibility and technical driving. A pair of combo pods in the bumper handles your primary forward light without the roof-height glare that bounces off dust and haze. Add pods on the A-pillars or bed rack and you can light exactly the angles a bar cannot reach. For slow rock work, bumper and A-pillar pods aimed at the terrain right in front of the tires are worth far more than a bar aimed at the horizon.
Ditch lights win at the peripheral stuff that actually hurts you. On a tight, brushy trail the danger is rarely straight ahead. It is the rock ledge at the edge of the track, the tree you are about to clip, or the deer coming out of the treeline. Ditch lights fill in those front corners and side angles that headlights, a roof bar, and even bumper pods leave dark. Ask anyone who wheels wooded or twisty trails at night and they will tell you ditch lights changed how they drive after dark.
How to Actually Build a Setup
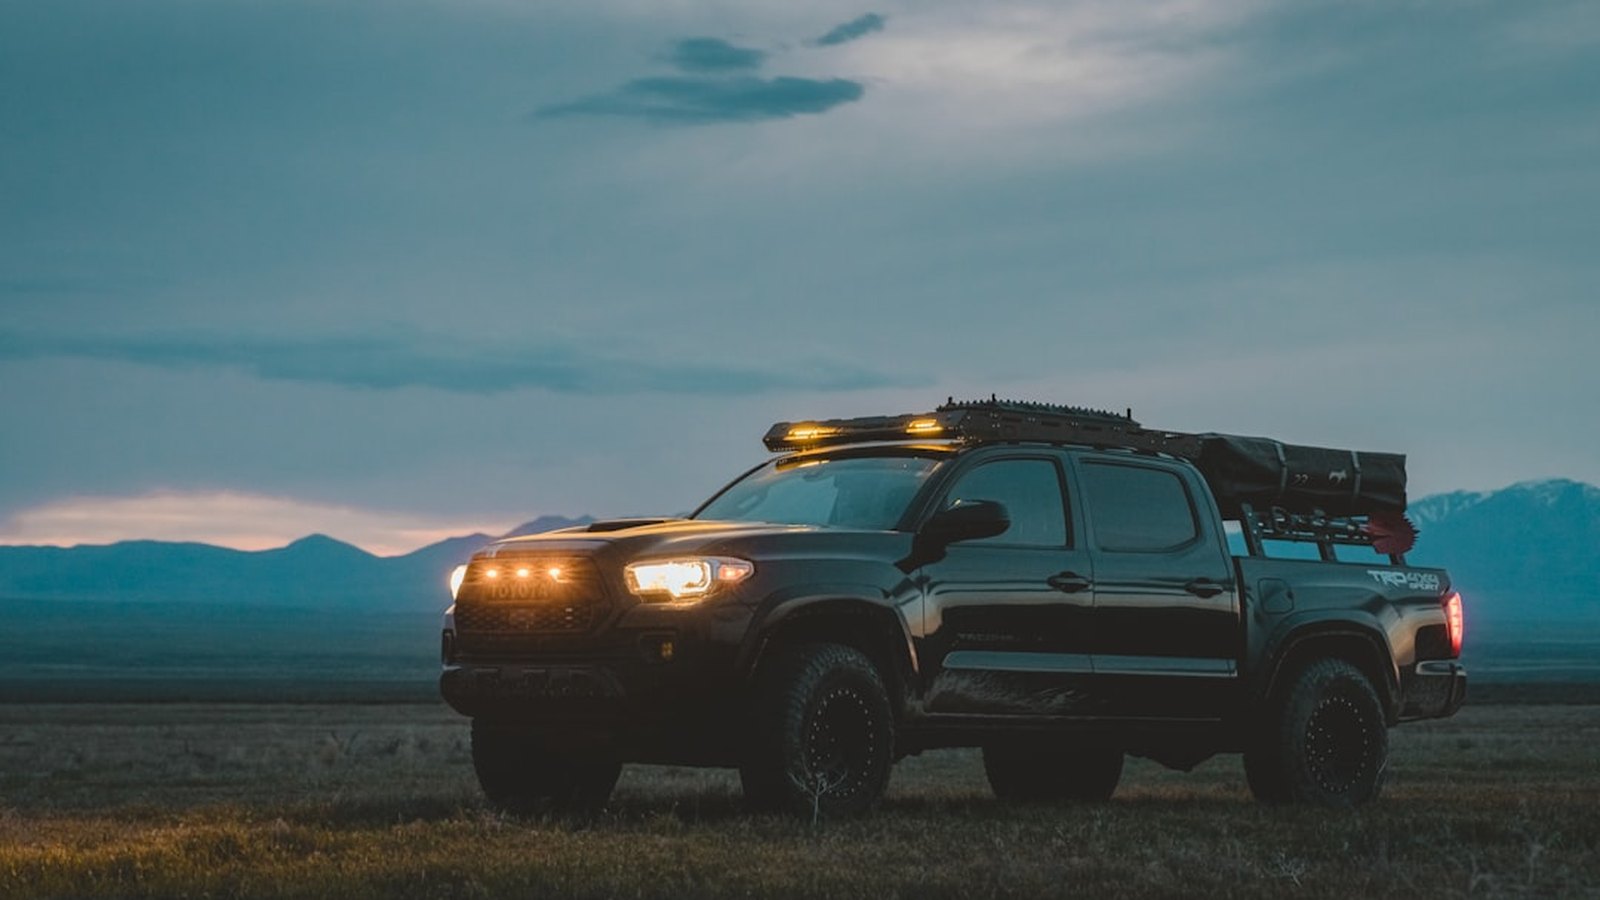 Photo: Isaac Mitchell / Unsplash
Here is the part nobody tells you: you build lighting in layers, and each layer goes on its own switch. A good starting point most builders land on:
- Primary reach: a pair of 5-inch combo pods in the bumper, or a combo light bar if you run fast open terrain. This is your main forward light.
- Peripheral fill: ditch lights on the hood hinges or A-pillar base, aimed at the front corners and trail edges.
- Close and technical: flood pods low on the bumper or on the A-pillars for slow crawling and lighting the ground right at the tires.
If you regularly wheel at night, that three-layer setup covers near, far, and the sides, which is genuinely everything. For serious high-speed desert use, a curved dual-row combo bar on the roof plus bumper pods gives the most complete coverage across all distances. For a weekend overlander who mostly needs to find camp and set up in the dark, a pair of flood pods and ditch lights is plenty. Do not overbuy.
Wire It Right or Do Not Bother
This is where a lot of otherwise clean builds go wrong. Off-road lights pull real current, and running them straight off a switch is how you melt a switch or start an electrical fire.
Use a relay harness. A relay lets a small trigger wire from your switch control a heavy-duty circuit that pulls power directly from the battery through a fuse. The switch handles almost no current, the relay carries the load, and the fuse protects the whole thing. Every reputable light comes with or offers a proper relay harness, and you should use it.
Put each layer of lights on its own switch and its own circuit. There is a real reason for this beyond neatness. On the highway you want everything off. On a fast fire road you want the bar and driving pods. Crawling slow through trees you want ditch lights and floods and nothing pointed at the horizon blinding you with dust glare. Independent switches let you run only what the moment needs, and running fewer lights also saves your alternator and battery on a long night.
Lumens, Color, and the Marketing Games
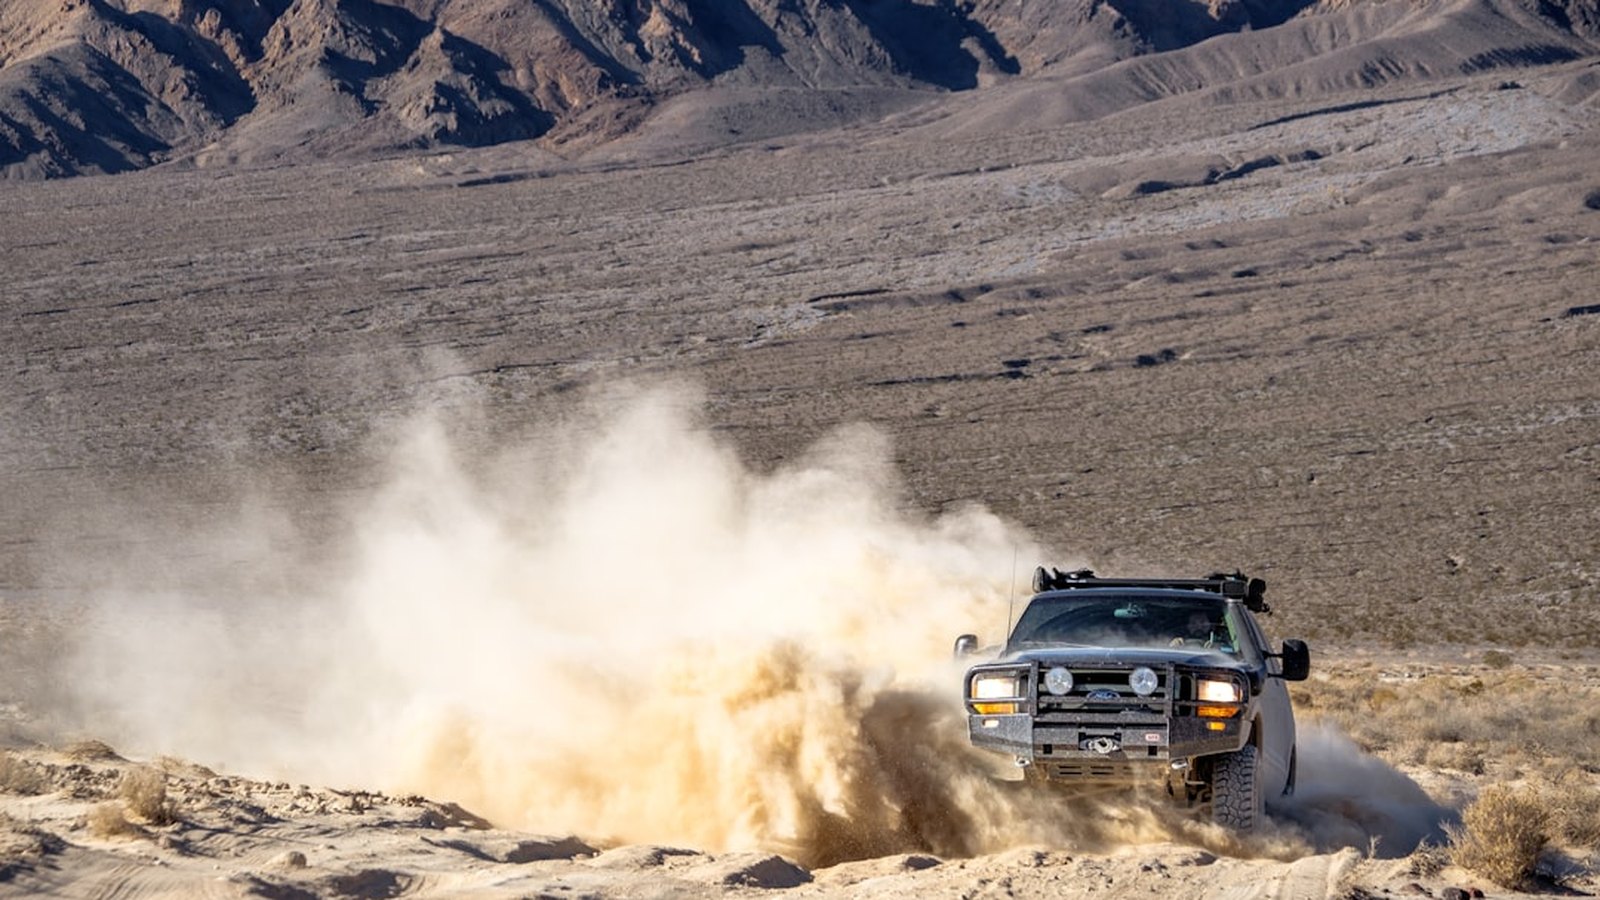 Photo: Chris Cordes / Unsplash
Two things the spec sheets will try to trick you on.
Raw lumens versus effective lumens. Marketing loves to print a giant raw lumen number, which is the theoretical output of the bare LEDs before the lens, reflector, and housing eat into it. Effective lumens is what actually leaves the light and hits the trail, and it is always lower. When you compare lights, compare effective lumens, and be skeptical of any cheap bar advertising a number that sounds too good to be true. It usually is.
Color temperature. Most off-road LEDs run around 5000K, a clean white that renders terrain color accurately and looks great in photos. Amber is the other real option, and it is not just for looks. Warmer light in the roughly 3000K to 4000K range cuts through dust, fog, rain, and snow better because it scatters less back into your eyes. The tradeoff is a small hit to effective output, on the order of 15 percent, since the amber lens filters some light. If you wheel in dust or run foul-weather trails a lot, amber pods or an amber ditch-light setup earn their keep. For dry, clear conditions, clean white 5000K is hard to beat.
The Legal Part You Cannot Ignore
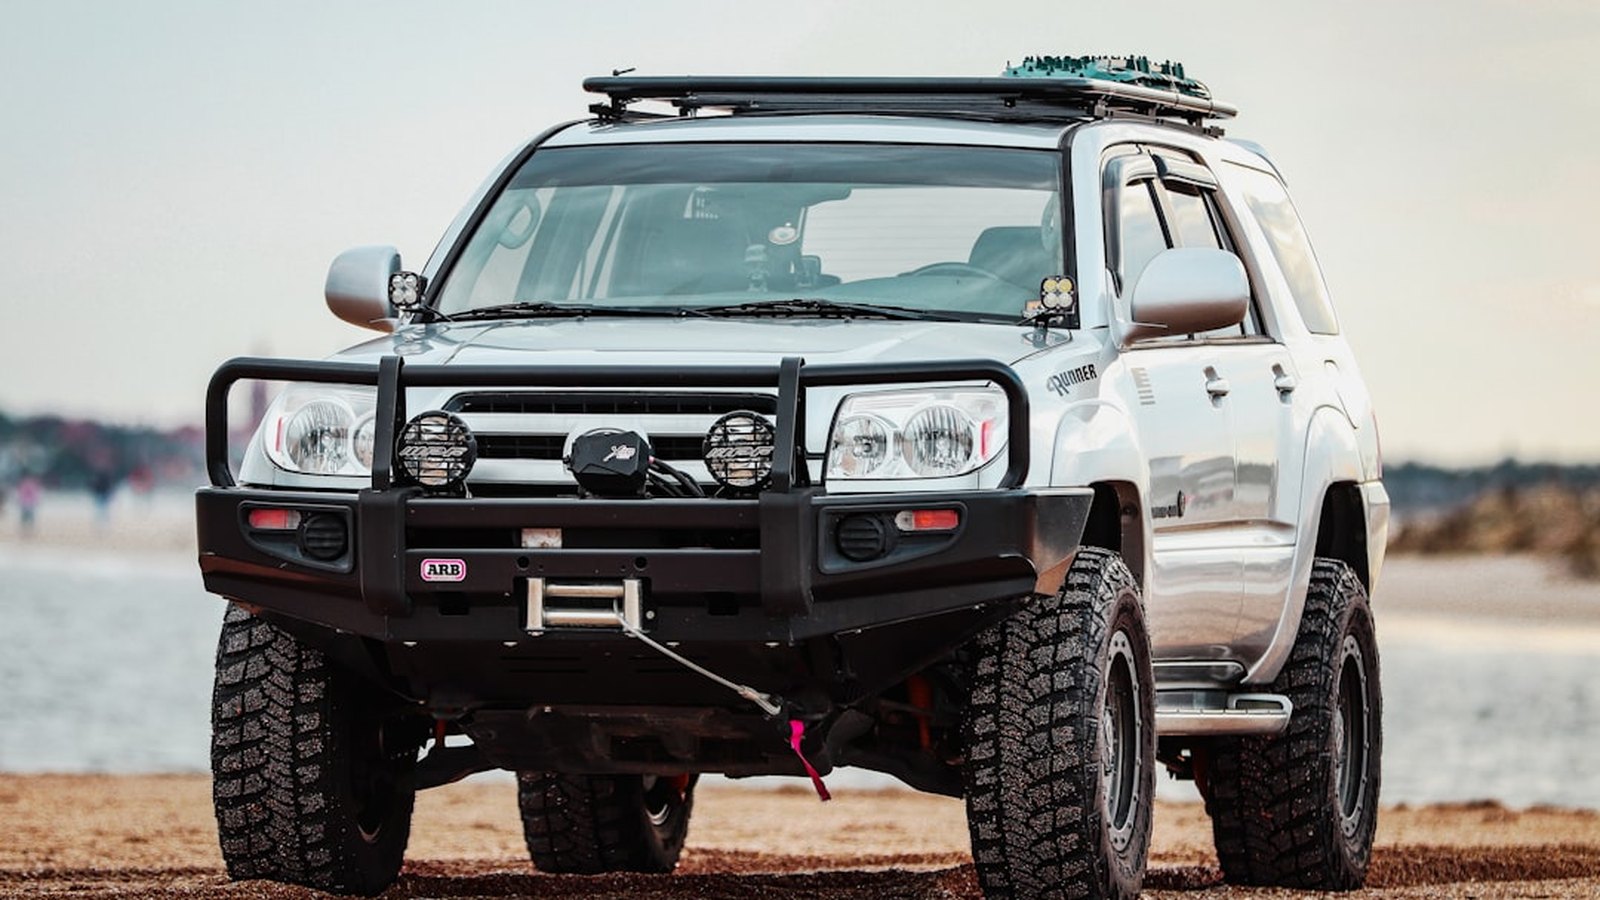 Photo: Lance Asper / Unsplash
Here is the reality most sellers gloss over. The vast majority of light bars and pods are labeled off-road use only, and that label means exactly what it says: they are not legal to run on public roads. Products marked off-road use only do not meet the federal requirements for street use, full stop.
The line the regulators draw is between certified auxiliary lighting and everything else. Auxiliary driving and fog lamps that meet the SAE photometric standards (J581 for driving beams, J583 for fog) are designed to be street usable, generally in conjunction with your high beams and required to switch off for oncoming traffic. A giant uncertified roof light bar is not that. Many states require off-road-only lights to be covered with an opaque cover while driving on public roads, and roof-mounted bars in particular draw law enforcement attention when left uncovered or used on the highway.
Practically, this is another point in favor of ditch lights and properly aimed auxiliary pods. Lights that are not pointed straight down the road and are aimed outward or wired to your high-beam circuit tend to be easier to keep compliant than a blazing roof bar. But laws vary by state, so check yours before you wire anything to run on pavement, and get in the habit of covering or switching off the off-road-only stuff the moment you hit the highway.
The Bottom Line
Stop thinking about off-road lighting as one big purchase and start thinking in layers. A light bar buys you reach and width for speed and open ground. Pods buy you flexibility to light specific jobs. Ditch lights buy you the front corners and trail edges that quietly cause most of the trouble at night. Put each layer on its own switch, wire it through relays and fuses like an adult, match your beam patterns to the distances you actually drive, and cover or kill the off-road-only lights on the street.
Do that and you will out-see the guy with the 50-inch bar and nothing else every single time. The trail does not care how bright your rig looks in the parking lot. It cares whether you can see the next obstacle before it finds you.
Hero photo: Photo: Thomas Tucker / Unsplash