

That photo of your rig caked in trail mud is a trophy. It also happens to be a countdown timer. The second you park in the driveway and walk away, the same mud, grit, and water that made the day epic start doing quiet damage under your truck. Trapped mud holds moisture against bare metal. Fine dust packs into your air filter. Water sneaks past seals it was never meant to reach. None of it announces itself. You just wake up months later to a leaking diff, a seized bushing, or a frame flaking with rust that did not have to happen.
The good news is that the fix is stupidly simple. A focused 15 minutes after every serious trip catches almost everything before it becomes a repair bill. This is not a full teardown. It is a habit. Do it consistently and you will spot the loose bolt, the milky fluid, or the tweaked control arm while it is still a five-minute fix instead of a tow off the mountain next time out.
Here is the routine we run, in the order that actually matters.
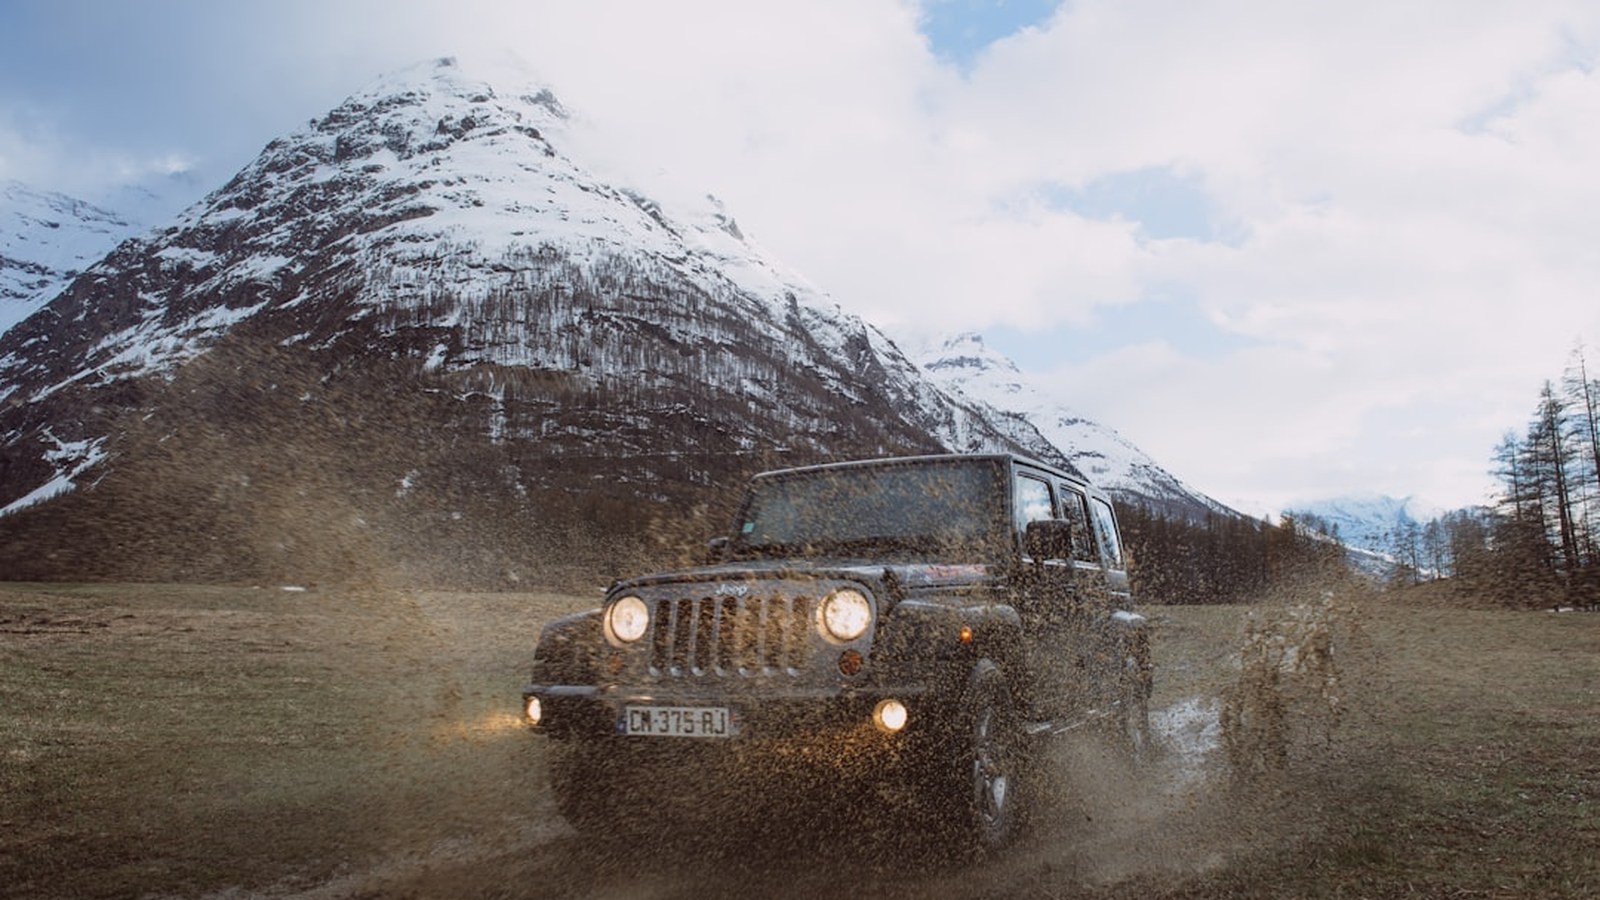 Photo: Philippe Toupet / Unsplash
Rinse First, Because You Cannot Inspect What You Cannot See
Before you check a single component, get the mud off. A clean rig is not about looking pretty in the garage. It is that you physically cannot spot a hairline crack, a fresh leak, or a missing lug under a half inch of dried clay. Cleaning is step one of the inspection, not a separate chore.
Start with a pressure washer or a strong hose and hit the undercarriage first. This is the part everyone skips and the part that matters most. Mud, clay, sand, and especially road salt collect on the frame, suspension, skid plates, and differentials, and they hold moisture against metal long after the surface looks dry. Corrosion loves that trapped grime. Run water through the open holes in the frame rails too, since those cavities pack with mud you will never see from outside and rust from the inside out.
If the mud is baked on, do not just blast harder. Pre-rinse, let a degreaser or off-road wash soak for a few minutes to break the mud down, then agitate stubborn spots with a brush. Caked mud usually needs to be loosened chemically before it will let go, and grinding it with high pressure alone tends to just push it deeper into crevices.
One more reason to wash before you drive it much: it keeps you from spreading invasive plant seeds and mud from one trail system to the next. That is basic trail stewardship, and land managers do watch for it.
Tires and Wheels: The Two-Minute Check That Prevents a Blowout
Your tires took the worst of the trail, so they get looked at first. Walk each one and scan the tread and sidewalls for deep cuts, chunks torn out of the lugs, or anything embedded. Sidewall damage from a sharp rock is the kind of thing that fails on the highway at 70, not on the trail at 4.
Check your lug nuts and retorque anything that feels loose. If you run beadlocks, check that ring hardware too, because those bolts back off under trail abuse. Then check pressure, especially if you aired down. Here is the part people miss: check it again the next morning. Air pressure reads higher when the tire is warm from driving and drops as it cools overnight, so a same-day reading can fool you. And do not forget the spare. The day you need it is a bad day to learn it is flat.
Look Under It: Suspension, Steering, and the Frame
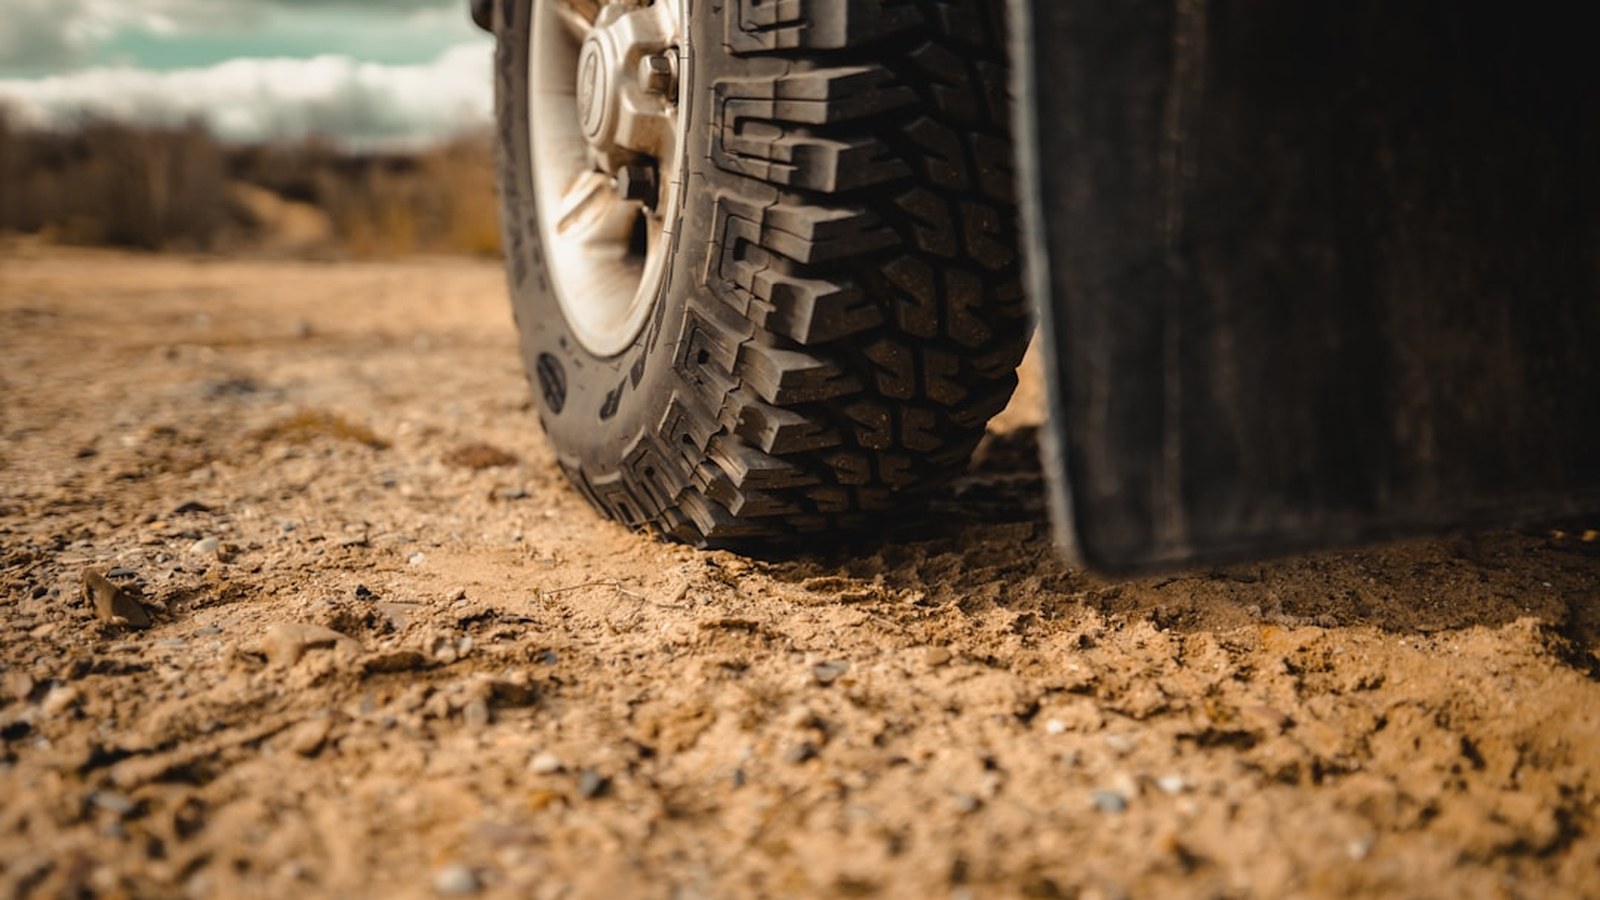 Photo: Cedrik Wesche / Unsplash
Now the part that separates people who keep their rigs for a decade from people who replace them. Get the front end up on a jack or ramps if you can, and actually get under there.
Grab each front wheel at 12 and 6 and give it a firm push-pull, then 3 and 9. Play or a clunk points you toward worn ball joints, tie rod ends, or wheel bearings. While you are under there, eyeball the control arms, track bar, sway bar links, springs, and bump stops for fresh scrapes, bends, or anything rubbing where it should not be. Trail rocks bend steering and suspension parts more often than people think, and a tweaked tie rod will chew a set of tires in a hurry.
Check your shocks for dents and for oil weeping down the body, which means a blown seal. Look at your brake lines, especially if you run a lift on stock-length lines, since overextension stresses them right at the crimp. Then scan the frame itself for cracks, focusing on weld seams and high-stress mounting points. A frame crack caught early is a weld. Caught late it is a new frame.
Fluids and the Milky-Fluid Test Every Water Crosser Needs to Know
If you crossed any real water, this is the check that saves a differential. Pop the fill plug on your front and rear diffs and look at the fluid. Healthy gear oil is amber to brown. If it comes out milky, grey, or looks like a coffee-and-cream mix, water got past a seal and contaminated it. Drive on that and the water attacks the bearings and ring-and-pinion from the inside. The fix is a drain-and-refill right away, and it is cheap compared to a rebuilt axle. Check the transmission and transfer case the same way if you were in deep water.
While you are checking levels, hit oil, coolant, power steering, and brake fluid too. Look for the same water contamination and top off anything low. Then glance over your diff and transmission covers for fresh dents. A dented cover can weep gear oil slowly enough that you never notice until it is empty.
The Engine Bay and the Air Filter Nobody Checks
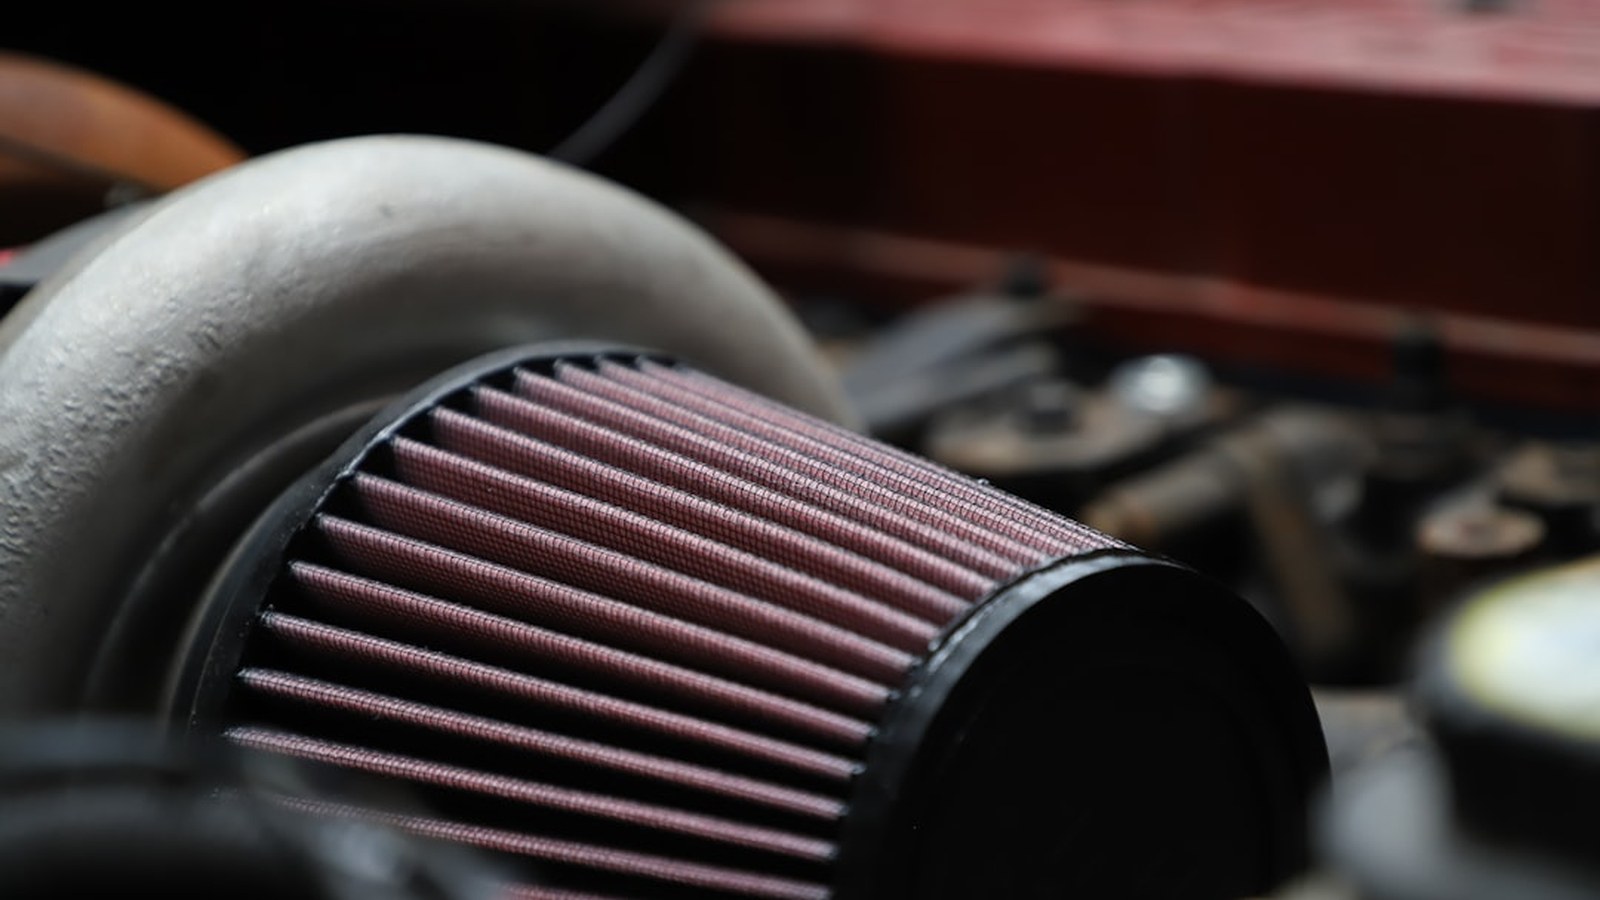
Off-road running feeds your engine a diet of fine dust, and that dust goes straight for the air filter. A clogged filter chokes airflow and robs power, and if you forded water there is a real chance moisture got into the intake. Pull the filter and look at it. If it is packed with dust or damp, clean or replace it. This is one of the highest-payoff two-minute checks there is.
Then look over the rest of the bay. Check hoses, belts, and clamps for anything loosened by the vibration and impacts of the trail. Look at the radiator for mud packed into the fins, since a clogged radiator runs hot, and clear it out with a gentle rinse from the engine side if you can. Snug down any battery terminals that trail chatter shook loose.
Grease the Points That Ask for It
If your rig has grease zerks, those little nipple fittings on u-joints, ball joints, driveshafts, and steering components, this is the moment to hit them. Water and grit displace old grease, and running a joint dry after a wet trip is how you kill it early. A grease gun and five minutes push the contaminated grease out and fresh grease in. If you are not sure what needs it, look for the zerk fittings. If a part has one, it wants grease.
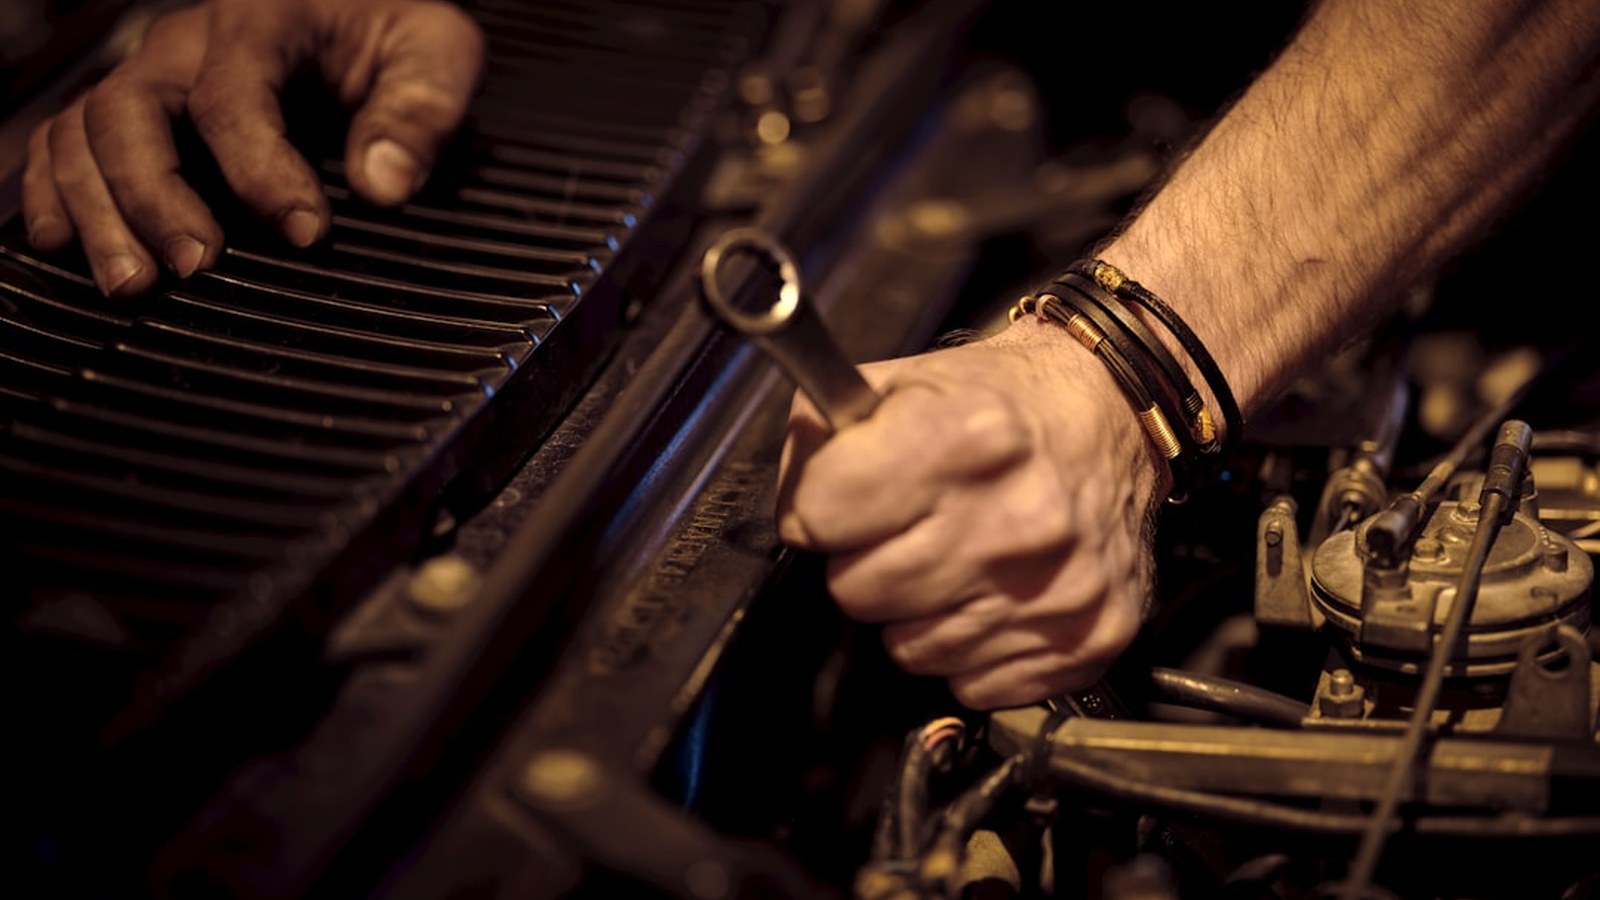 Photo: Christian Buehner / Unsplash
Make It a Habit, Not a Project
Written out, this looks like a lot. In practice, once you have done it a few times, the whole routine is a wash plus a fast walk-around with a flashlight and a grease gun. Fifteen minutes, maybe twenty if you found something worth a closer look.
The real payoff is not just the parts you save. It is that you get to know your rig. The person who checks their truck after every run is the person who feels the new vibration, hears the new noise, and notices the weeping seal before it strands them at the far end of a trail with no cell signal. Prevention out here is not paranoia. It is the difference between wheeling for years on the same reliable rig and constantly chasing the failure you could have caught in the driveway.
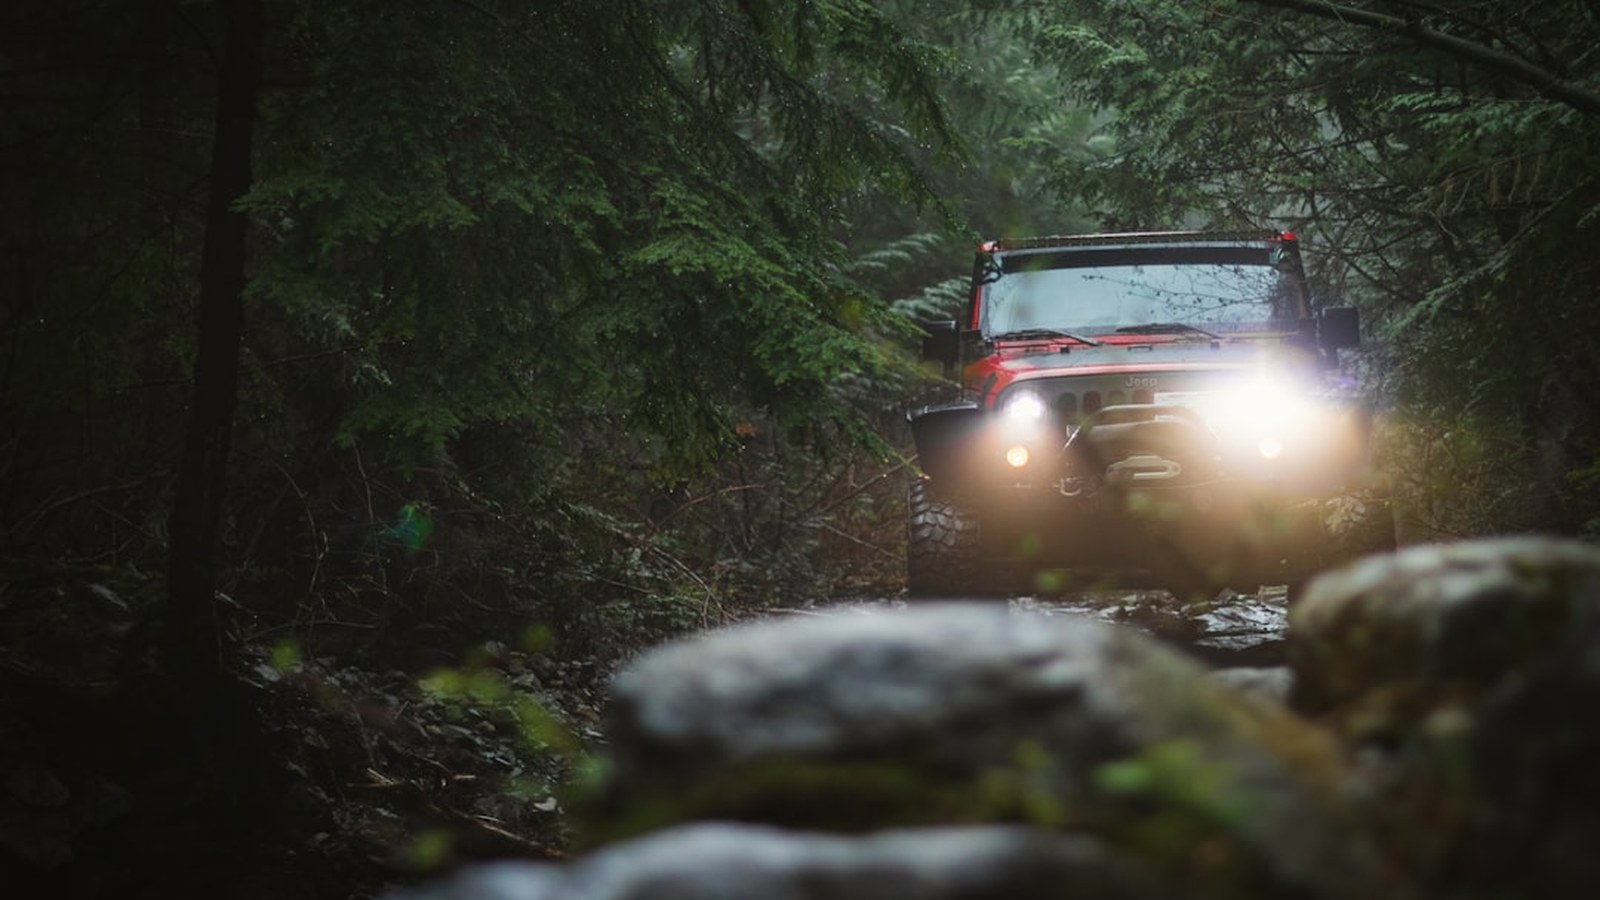 Photo: Greg Rosenke / Unsplash
So next time you roll home filthy and proud, take the photo. Then grab the hose. Your future self, halfway up an obstacle two states from home, will thank you.
Hero photo: Josue Michel / Unsplash